Digital systems
This resource helps Digital Technologies teachers make sure their teaching of digital systems
is aligned with the Australian Curriculum from Foundation to Year 10.
What you'll find
- Clear explanations of how hardware and software work together to make digital devices function, communicate and operate securely
- How digital systems concepts progress across F-10
- Practical classroom examples
- Resources to support planning and assessment
Digital systems focus by year band:
| Year band | Students learn to |
|---|---|
| Foundation | Explore common digital systems to see what they do |
| 1 - 2 | Explore the hardware and software components of digital systems and their use |
| 3 - 4 | Identify peripherals and their purposes, and explore how data can be sent between digital systems |
| 5 - 6 | Describe the role of internal components, and how networks connect digital systems to transmit data |
| 7 - 8 | Select appropriate hardware for particular tasks, and explain how data is transmitted and secured in networks |
| 9 - 10 | Explain how various protocols and systems are used to manage, control and secure access to data in networks |
What are digital systems?
Digital systems process data in binary. They are made up of hardware, controlled by software and connected to form networks, for example, a laptop and a networked banking system.
A simpler explanation can help …
A smartphone is a digital system that can display the current time and date in different ways by processing data from its internal hardware or from the internet.
In contrast, a simple analogue clock is not a digital system because it does not perform any processing of data. It contains only a rotating mechanism with gears.
Why is it relevant?
Digital systems are found everywhere in modern technology, from the tiny microcontrollers that control home appliances to laptops and smart TVs, to the internet itself. Recognising the distinctive ways digital systems work and connect helps students understand how they can use and relate to them.
Students learn to apply systems thinking first when examining the interactions between software and hardware components within a digital system, then when learning about networks that connect digital systems together.
Key terms in the curriculum
These key terms appear across the curriculum and are revisited at increasing levels of complexity.
| Hardware | Physical parts of a digital system |
|---|---|
| Peripherals | Hardware external to the digital system, such as a mouse or keyboard |
| Internal components | Hardware inside a digital system, such as memory chips or a motherboard |
| Software | Programs, procedures and routines that 'run' on a digital system |
| Data | Pieces of information, processed by digital systems in binary (ones and zeroes) |
| Network | Digital systems connected to share information or processing |
| Systems thinking | A way of thinking holistically about systems, considering their parts and the interactions between them |
| Hardware | Physical parts of a digital system. Examples:
|
|---|---|
| Software | Programs, procedures and routines that ‘run’ on a digital system. Software is written by someone with a purpose in mind. Example: The camera app on a smartphone enables the user to control the phone’s camera hardware, including the lens and other components. |
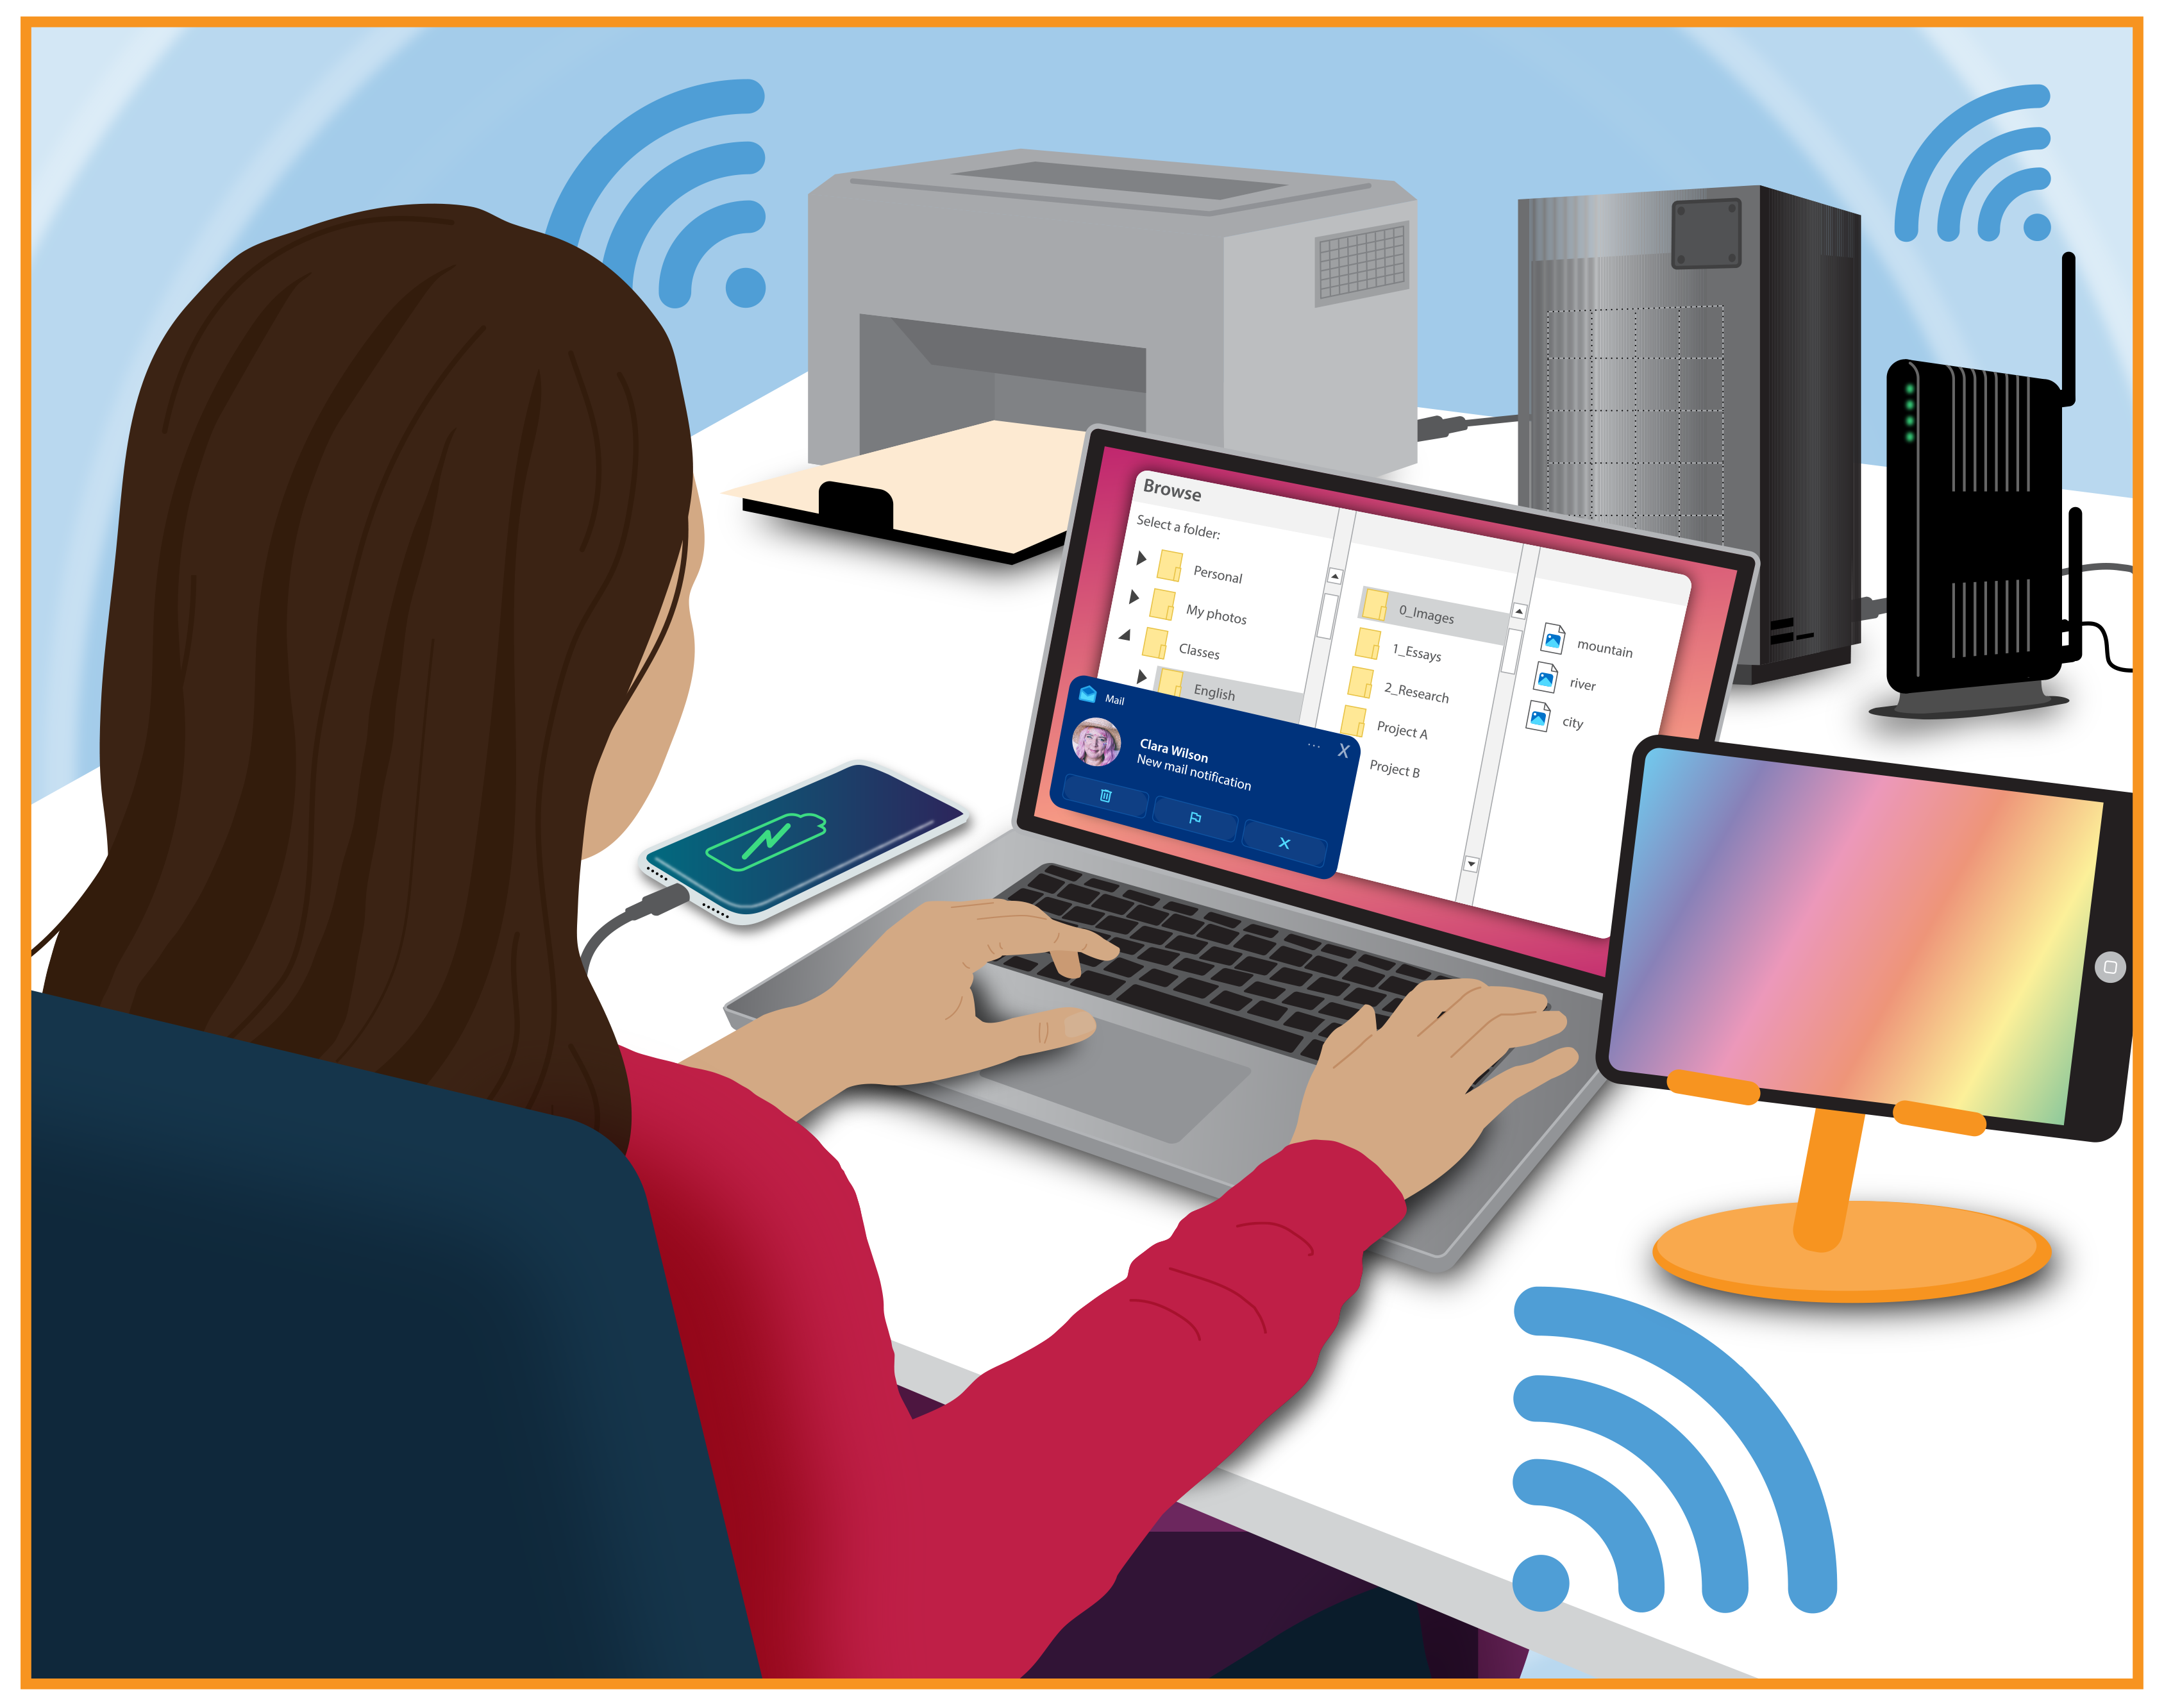
| Network | Digital systems connected to share information or processing. When digital systems connect to each other, common software (protocols) and additional hardware (modems, routers, access points) are required. Examples:
|
What to teach?
Digital systems learning begins at Foundation with tangible exploration of hardware.
Here’s how the concept develops across year bands:
Digital systems in Foundation
Expectation for this band
Students can:
- show familiarity with basic parts of a digital system
- use a digital system for a purpose.
The focus is on understanding that a digital device (such as a tablet or laptop) is made up of parts, and on using the device for a purpose.
What this looks like in practice
Students explore and use digital devices available in their classroom.
For example, students might:
- become familiar with touchscreen or keyboard, monitor or screen, and mouse on some devices. How do we type our name? How to we take a photo of our favourite toy?
- interact with a guest speaker via video-conferencing software and displayed on a large screen. Ask questions via a microphone. Discuss parts of the system that make that communication possible.
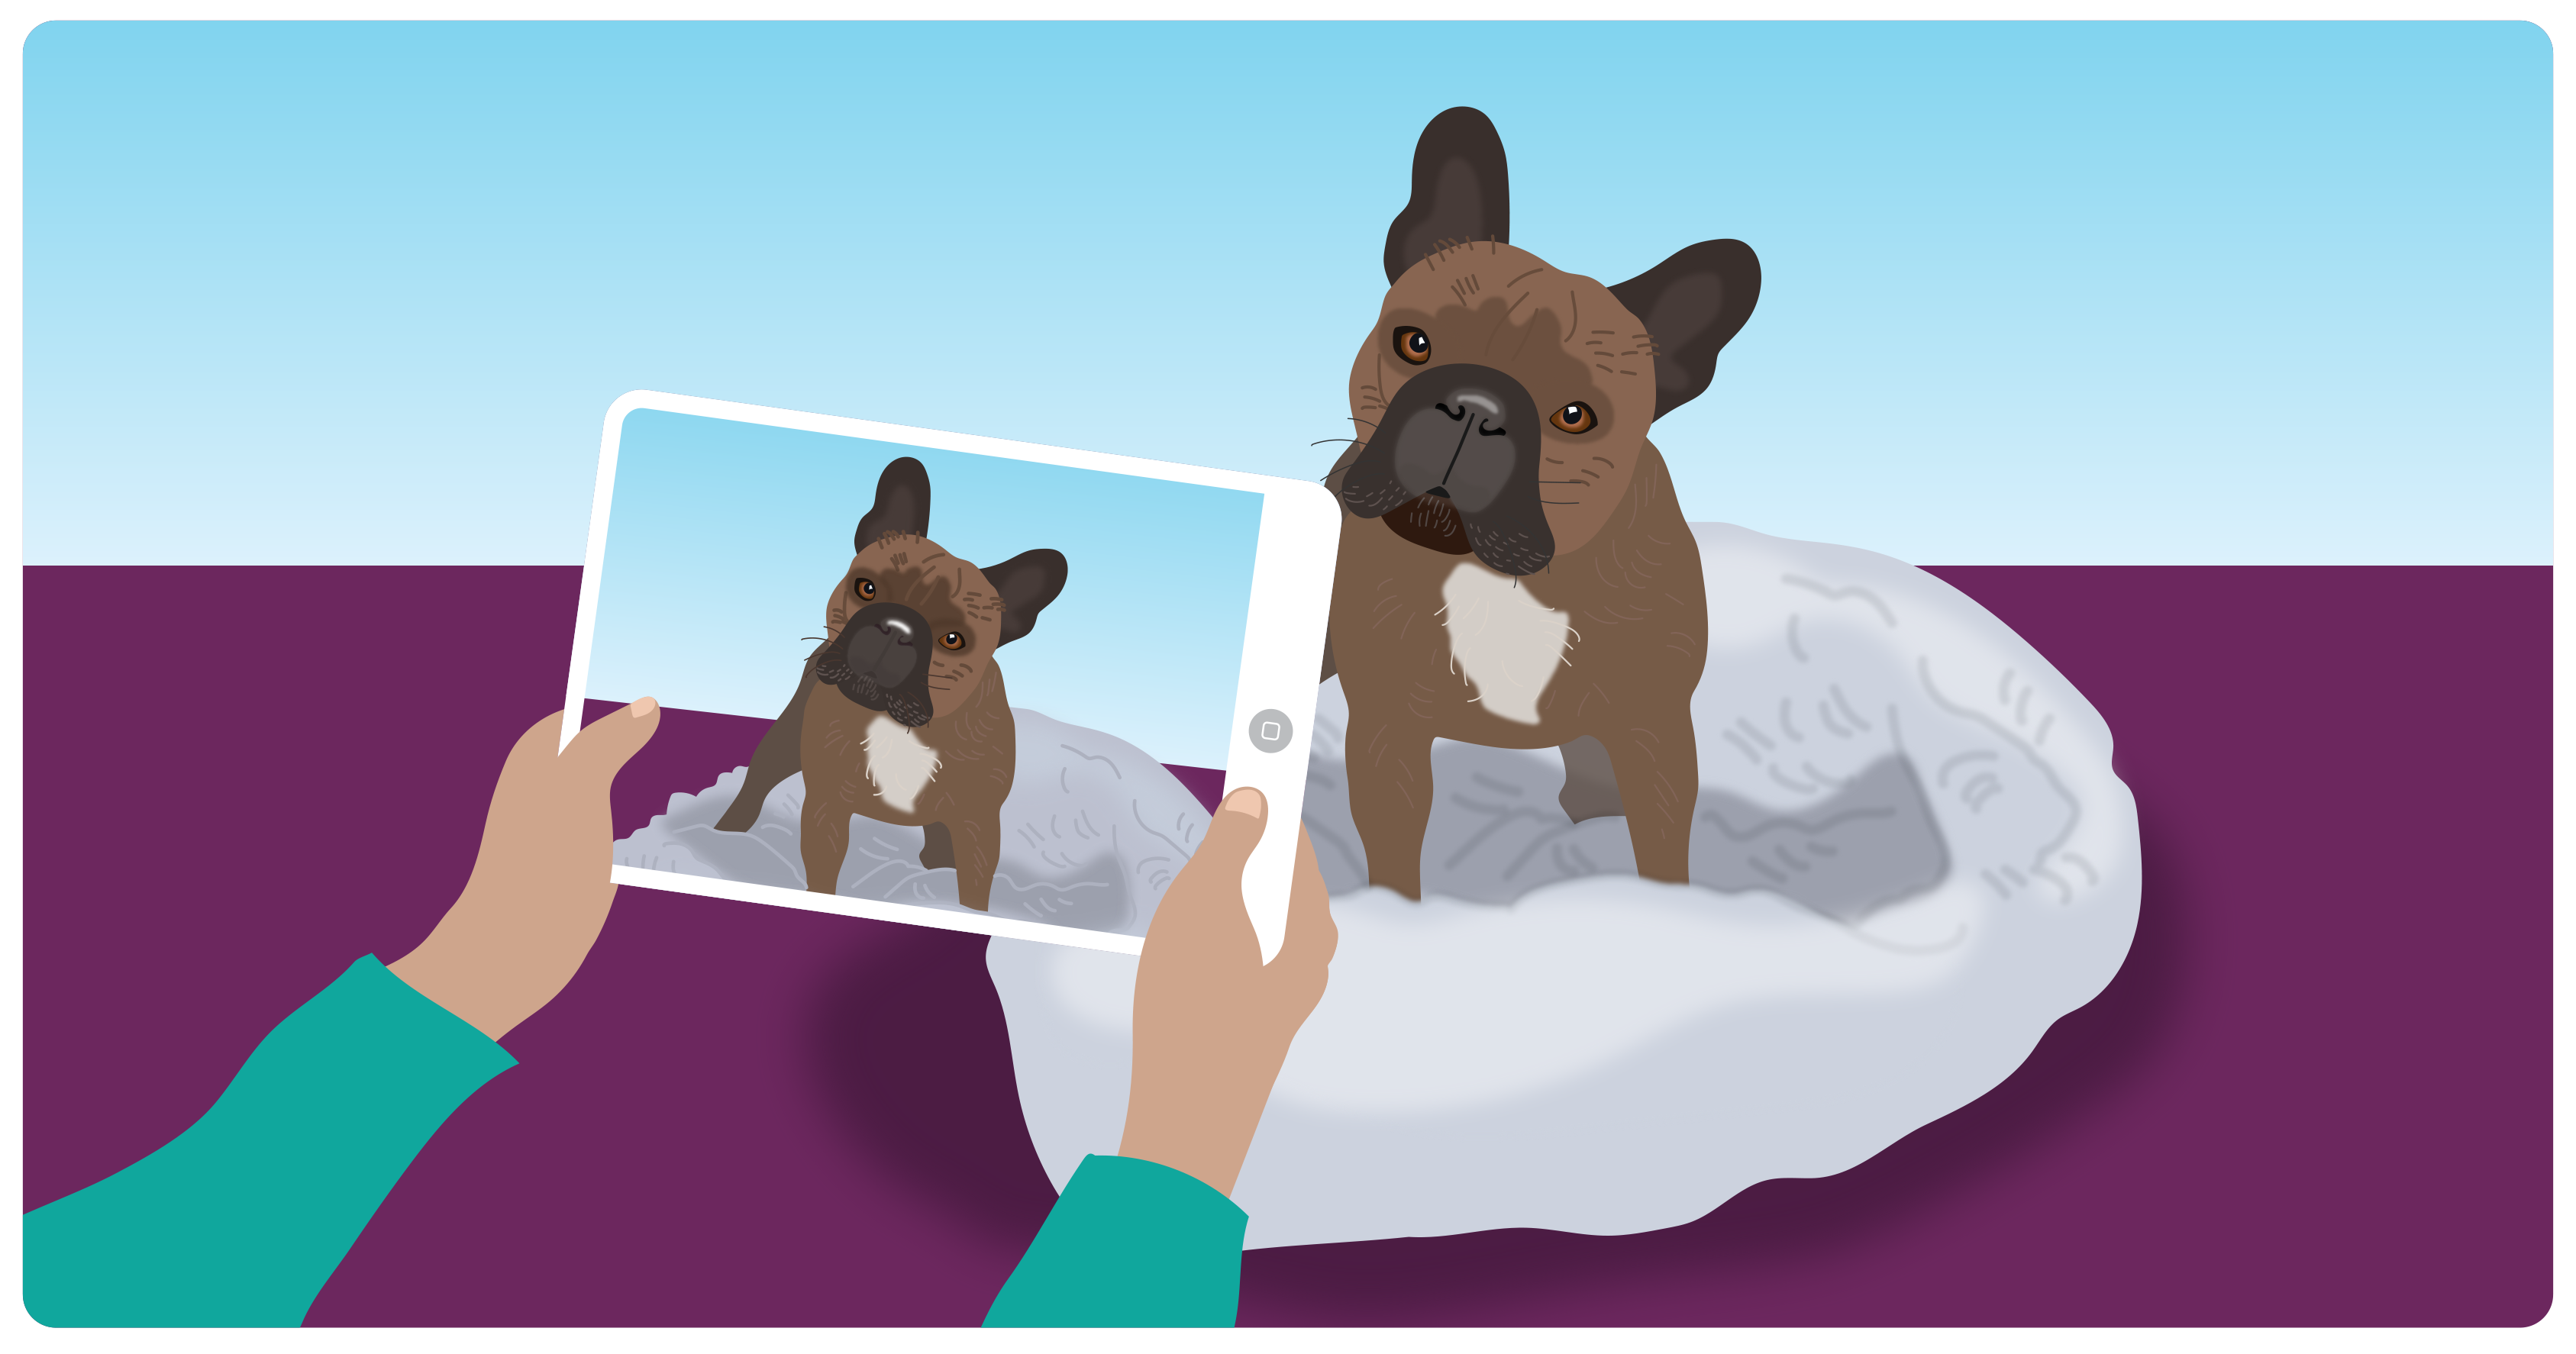
By the end of this lesson students will be able to describe a task they perform using a tablet device.
Retrieval: What can you use a tablet device to do?
Digital devices can help us complete many different tasks. Today we will use a tablet and explore the different parts that help us do those tasks.
Set aside time for students to use classroom digital devices, such as a tablet device, in pairs.
Students perform a simple task on the device, such as typing their name, drawing a picture or taking a photo. If students take photos, explicitly discuss privacy and choosing subjects appropriately, such as objects in the classroom rather than people.
Students then explore parts of the device.
- Which part of the device lets me type?
- Which part of the device is making sounds?
- Which part of the device ‘sees’ the world to take a photo?
Through discussion, students notice that they use parts of a digital device to accomplish a task.
Evidence of learning
You might notice that students:
- perform a simple task on a device
- demonstrate or explain how they perform the task.
Common misconceptions or errors to watch for
- Not recognising that different parts of a device help with different tasks
- Selecting an app that does not match the intended task, such as opening the wrong app to write, draw or take a photo.
Digital systems in Years 1-2
Expectation for this band
Students can:
- identify parts of a digital system
- describe examples of hardware and software
- use a digital system for a purpose.
In Years 1–2, students expand their understanding of the parts of a system to identify them as well as use them, including both hardware and software.
What this looks like in practice
Students continue to explore and use digital devices available in their classroom, identifying both hardware and software.
- For example, students might:
name the parts of a classroom laptop or tablet such as the screen, keyboard, speaker, camera as they are using the device to accomplish a task - play an app hunt game to find the app (software) to take a photo, draw a picture, write words or record their voice
- create a model of a digital system using materials such as cardboard, paper or playdough. Use questioning to prompt thinking about the hardware and software components as they demonstrate how the digital system operates.
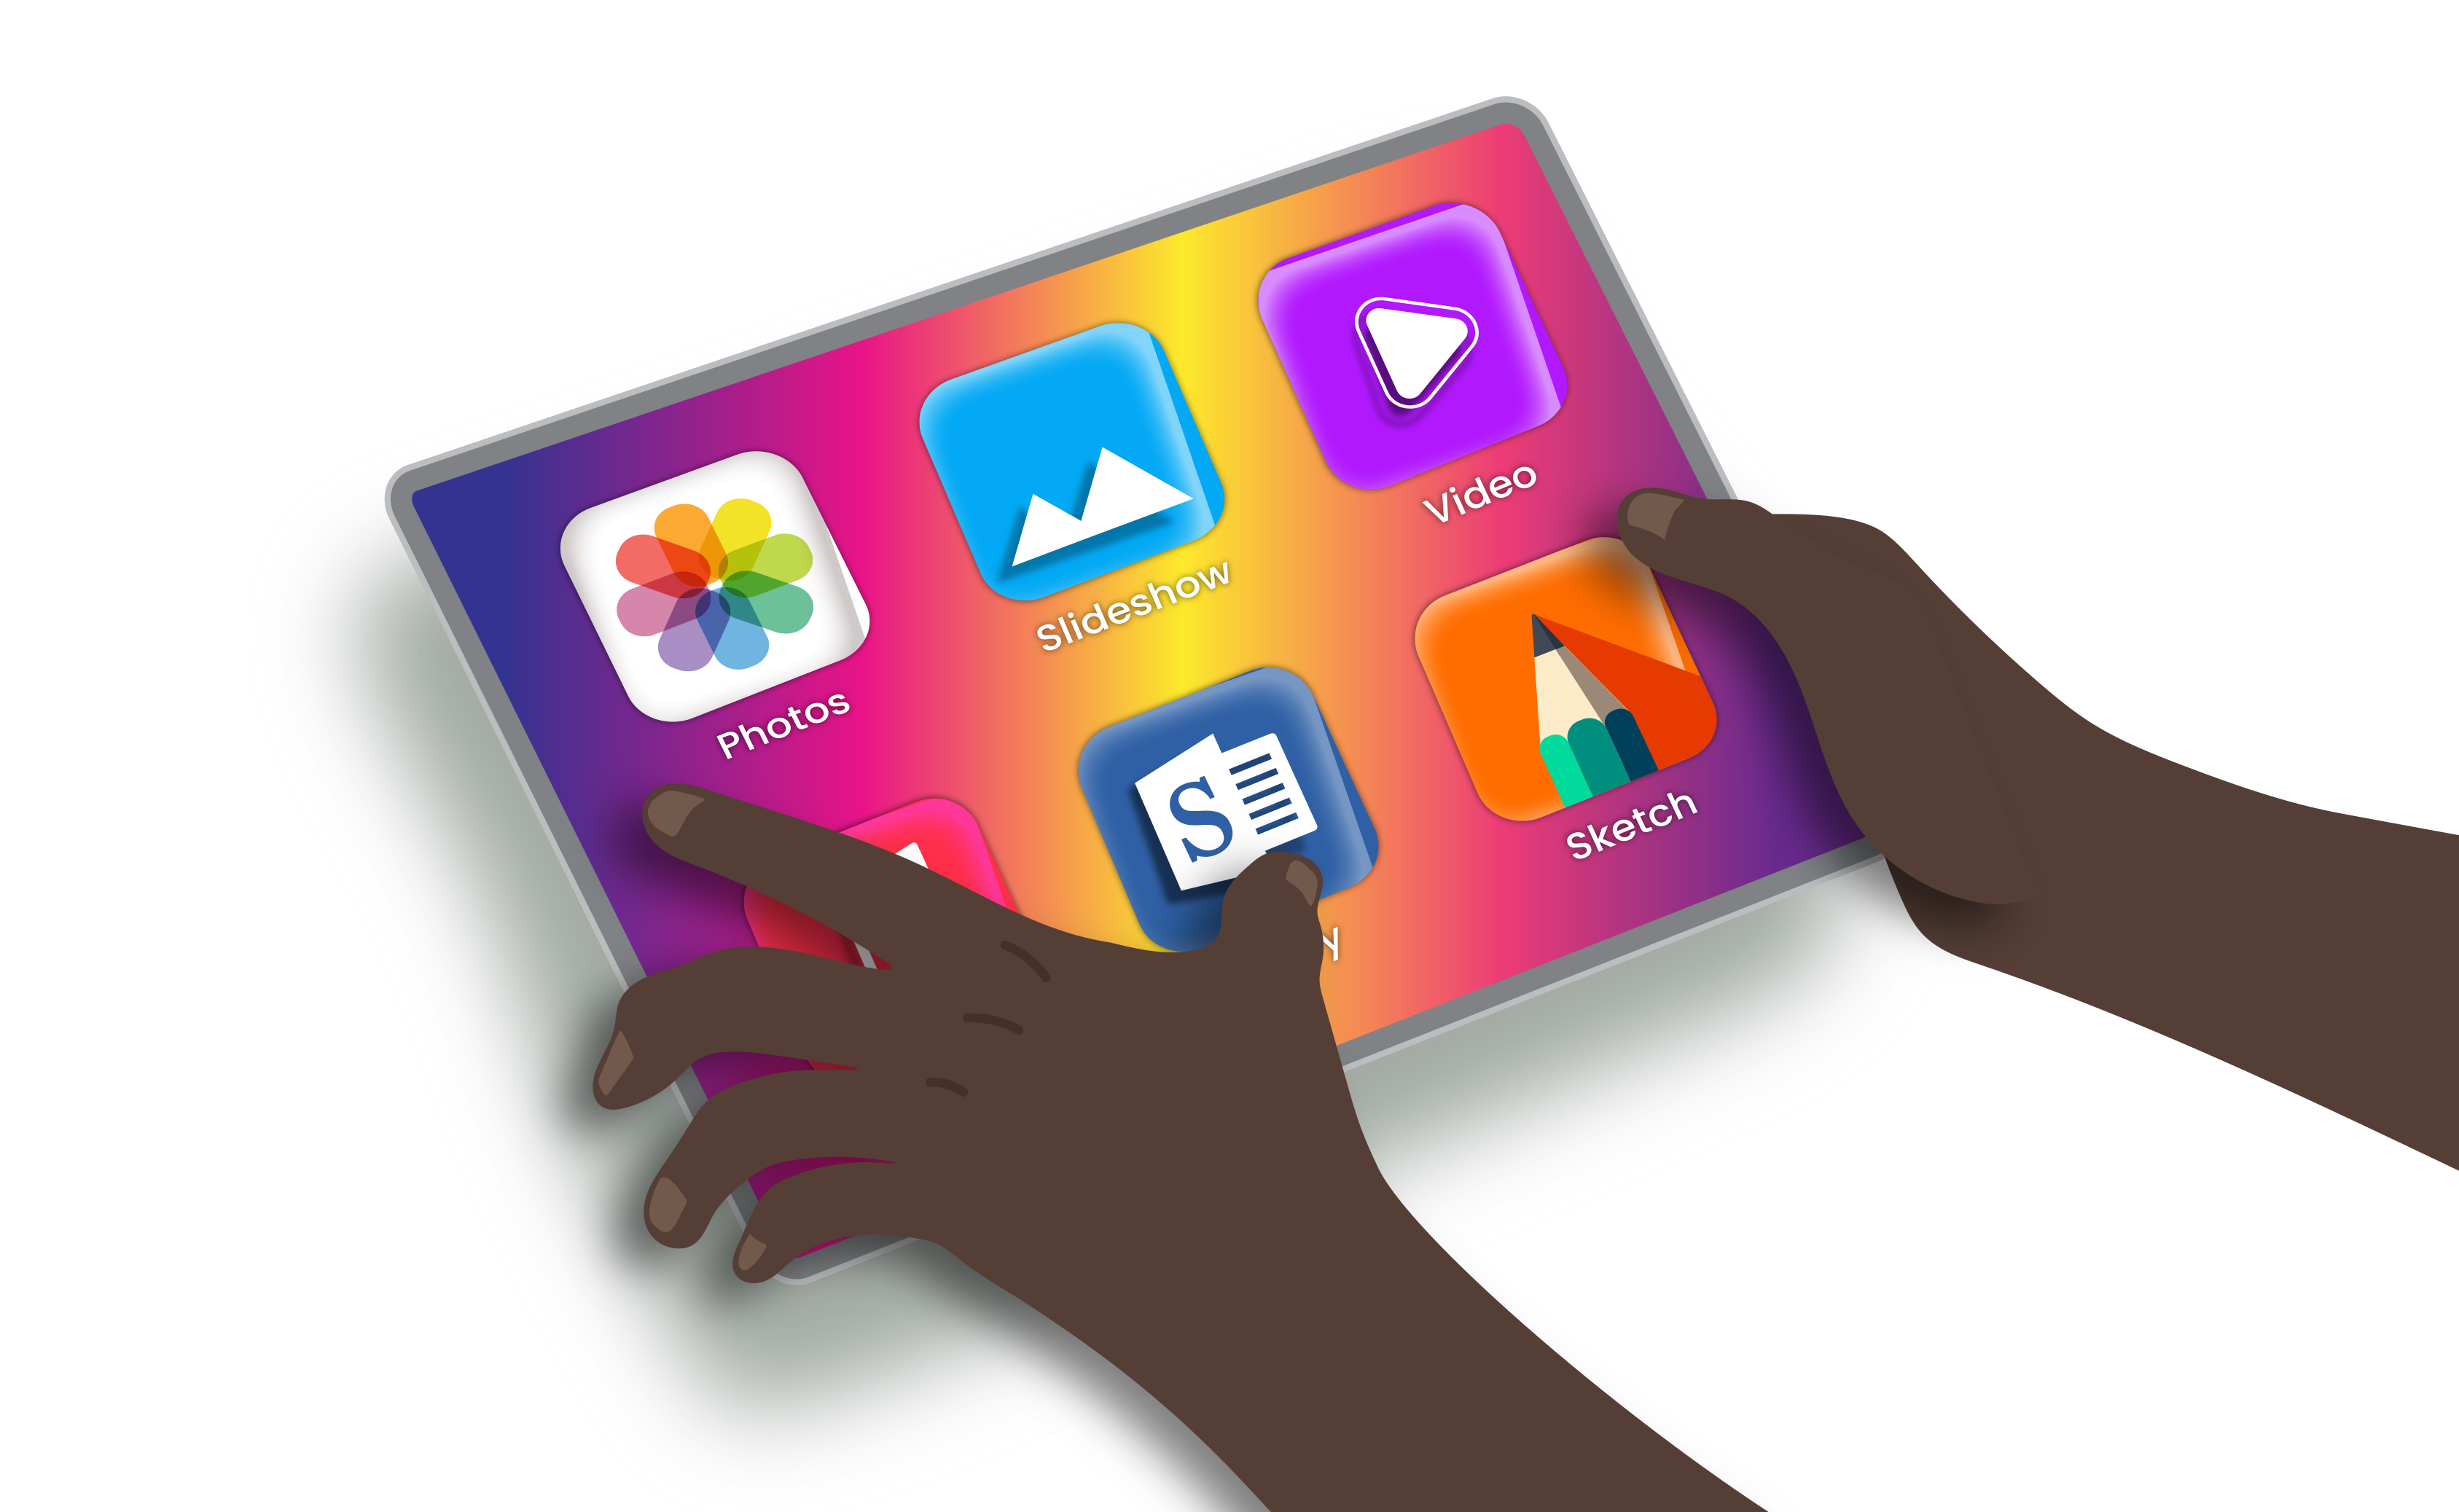
By the end of this lesson students will be able to describe the hardware and software they used to perform a task on a tablet device.
Retrieval: What do you need to write something with your tablet device? Could you write without opening an app?
Digital systems like the tablet help us complete many different tasks. To use a digital system, we need both hardware and software. Hardware is the physical parts of the device that we can see and touch. Software is the programs or apps that tell the device what to do.
Provide opportunities to use software of digital systems for a purpose related to a class context.
Guide students to, for example, type a short recount of an event using word processing, sequence a story using presentation software, create an image using a drawing program, take photographs or record a video using a tablet with a camera.
- Students discuss:
What specific parts (hardware) were involved in doing my task? Almost always, more than one part is involved. - What specific apps (software) did I use?
Evidence of learning
You might notice that students:
- name the parts of the device they used for their task, for example, the keyboard and the screen
- name the app they used for their task
- accomplish the task, with or without teacher assistance.
Common misconceptions or errors to watch for
- Assuming there is only one way to perform a task with a device (often there are multiple ways)
- Not distinguishing between hardware (the physical parts of the device) and software (the programs or apps that tell the device what to do).
Address this explicitly by creating a class list of parts we can identify and a separate list of apps we use.
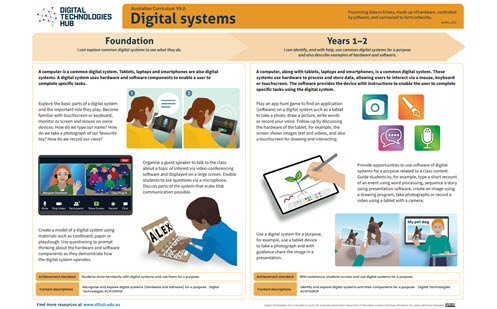
Poster: Key ideas, practical examples, Australian Curriculum
Download Digital systems poster(F-2) [PDF]
Digital systems in Years 3-4
Expectation for this band
Students can:
- describe different digital systems and their various uses
- identify peripherals and describe their purpose
- show familiarity with transmitting data between digital systems.
In Years 3–4, the focus expands to multiple different digital systems and their peripheral devices (the components that are externally connected to the system), as well as how different types of data can be transmitted between digital systems.
What this looks like in practice
Students describe different digital devices in the classroom, home or elsewhere and what they are used for, as well as their peripherals.
They also demonstrate or describe using a device to transmit data.
For example, students might:
- discuss a smart TV or game console at home and the things they can do with it
- list peripherals for the device, comparing them with peripherals common to classroom devices, for example, the controller on my game console serves a similar role to a mouse and keyboard on a laptop
- create an unusual input peripheral made up of fruit or foil, using the popular Makey Makey device
- describe sending a photo or making a video call from one tablet or smartphone to another.
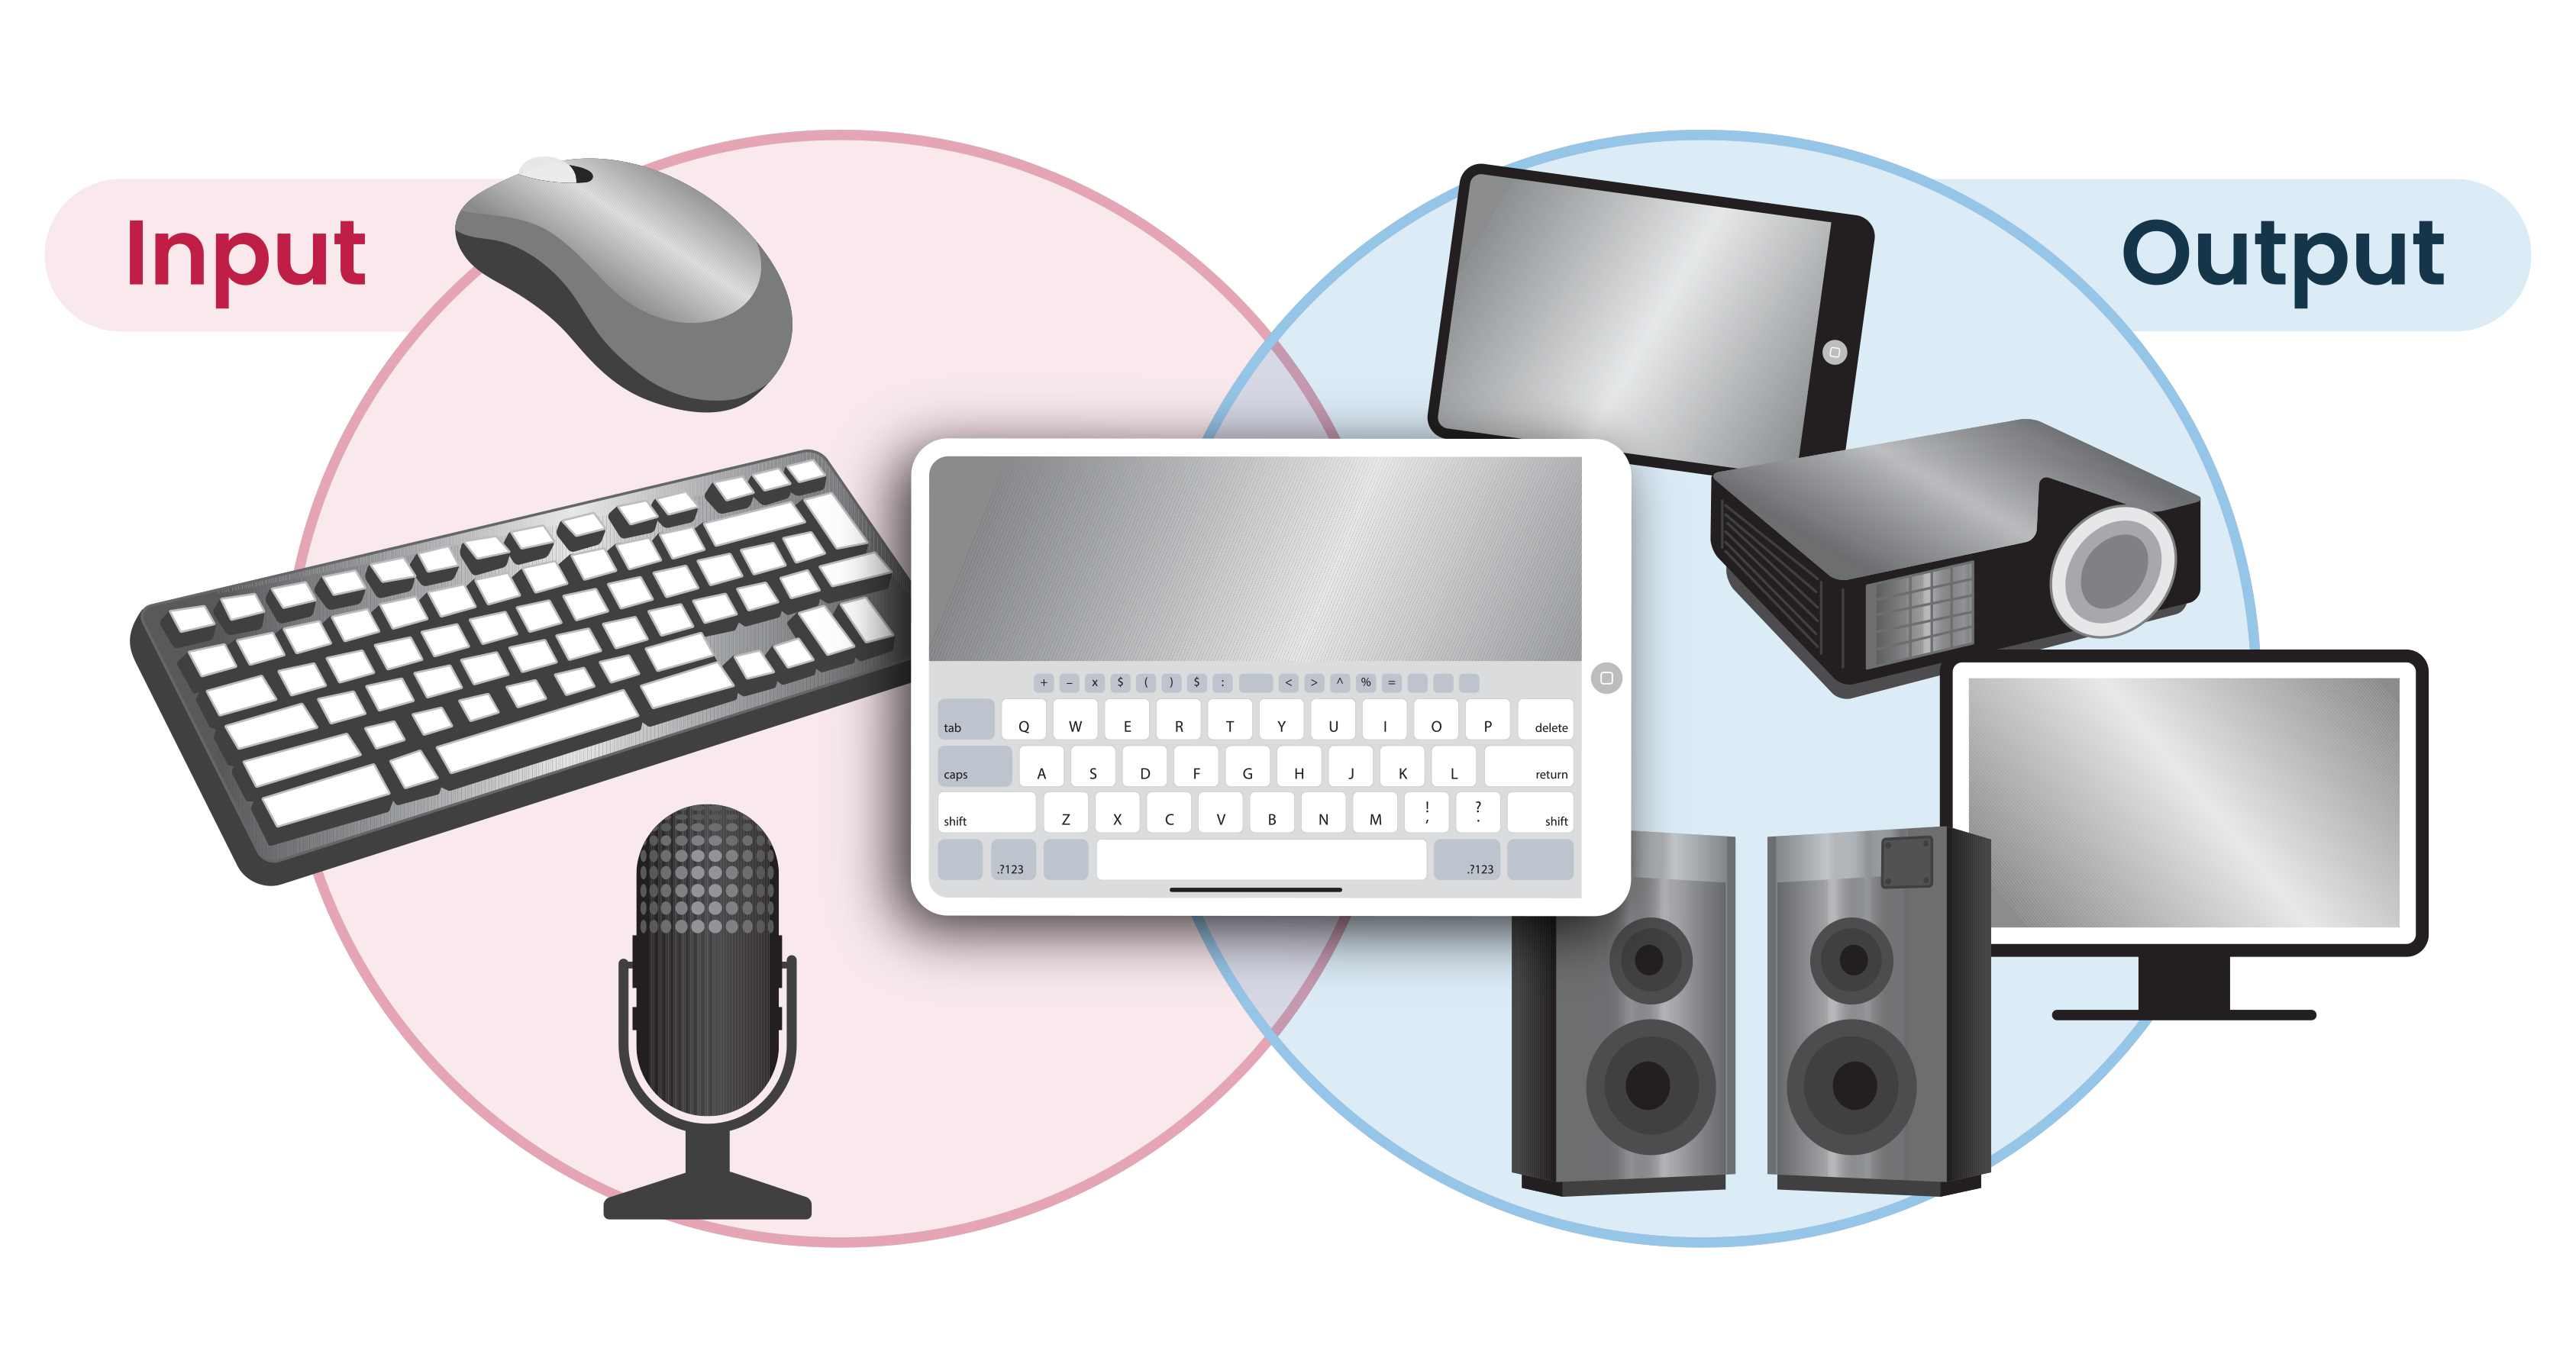
By the end of this lesson students will be able to identify peripherals used in a digital system and describe whether they are used for input, output or storage.
Retrieval: What do you need to write something with your tablet device? Could you write without opening an app?
Digital systems help us complete many different tasks. To use a digital system, we need both hardware and software. Hardware includes the physical devices we can see and touch. Some hardware devices, called peripherals, allow us to enter information into a system, receive information from a system, or store information for later use.
Provide student teams with a set of printed cards, each card representing a peripheral of a digital system.
Begin by discussing familiar digital tasks, such as video calling, gaming, listening to music, printing work or taking photos. Ask students to consider which peripherals help make these tasks possible.
- Student teams then sort the cards into three roles:Input devices send data to the computer, for example a keyboard or webcam.
- Storage devices keep data so it can be used later, for example a USB stick.
- Output devices receive data from the computer, for example a speaker or screen.
Before starting, discuss what these roles mean. For example, a webcam captures images and sound from the surrounding environment and sends this data to the computer as input. A speaker does the opposite: it receives data from the computer and produces sound that people can hear.
Note that some peripherals can perform more than one role. For example, a touchscreen can be both an input device (when touched) and an output device (when displaying information).
Assign each student team a familiar digital task or device setup, such as joining a video call, playing a game, or creating and printing a poster.
Students select the peripherals needed for that task and explain the role each one plays.
Students share their choices, explaining how the peripherals work together to help the user achieve the task.
Evidence of learning
You might notice that students:
- identify the roles of peripherals within a digital system
- demonstrate an understanding that multiple components of a system work together to perform a task.
Common misconceptions or errors to watch for
- Misidentifying a peripheral’s role based on how it looks or connects, rather than on the data it sends, stores or receives; for example, treating a USB stick as an input device because it is plugged into a laptop
- Assuming each peripheral has only one role, rather than recognising that some can both input and output data
- Assuming that wireless peripherals are not really connected because they do not use a cable.
Digital systems in Years 5-6
Expectation for this band
Students can:
- identify internal components of a digital system
- describe the roles of the internal components
- describe (in simple terms) ways that devices are connected into networks, so that data can be transmitted between them.
The focus shifts from external components to internal components of a digital system, while discussion of device-to-device communication is expanded into a basic introduction to networks.
What this looks like in practice
Students name internal components of a computer or laptop, such as the motherboard, CPU and hard disk drive, and identify the role they play in the overall system.
They also explore and discuss the ways home and school devices are connected to a network, such as through wi-fi or cables.
For example, students might:
- match various internal components with their functions (for example, processing data, storing information)
- participate in a guided tour of their school’s network, from the wireless access point in their classroom to the routers and switches managed by the school’s IT department
- watch an introductory video about computer networks, then discuss the process or hardware mentioned in the video.
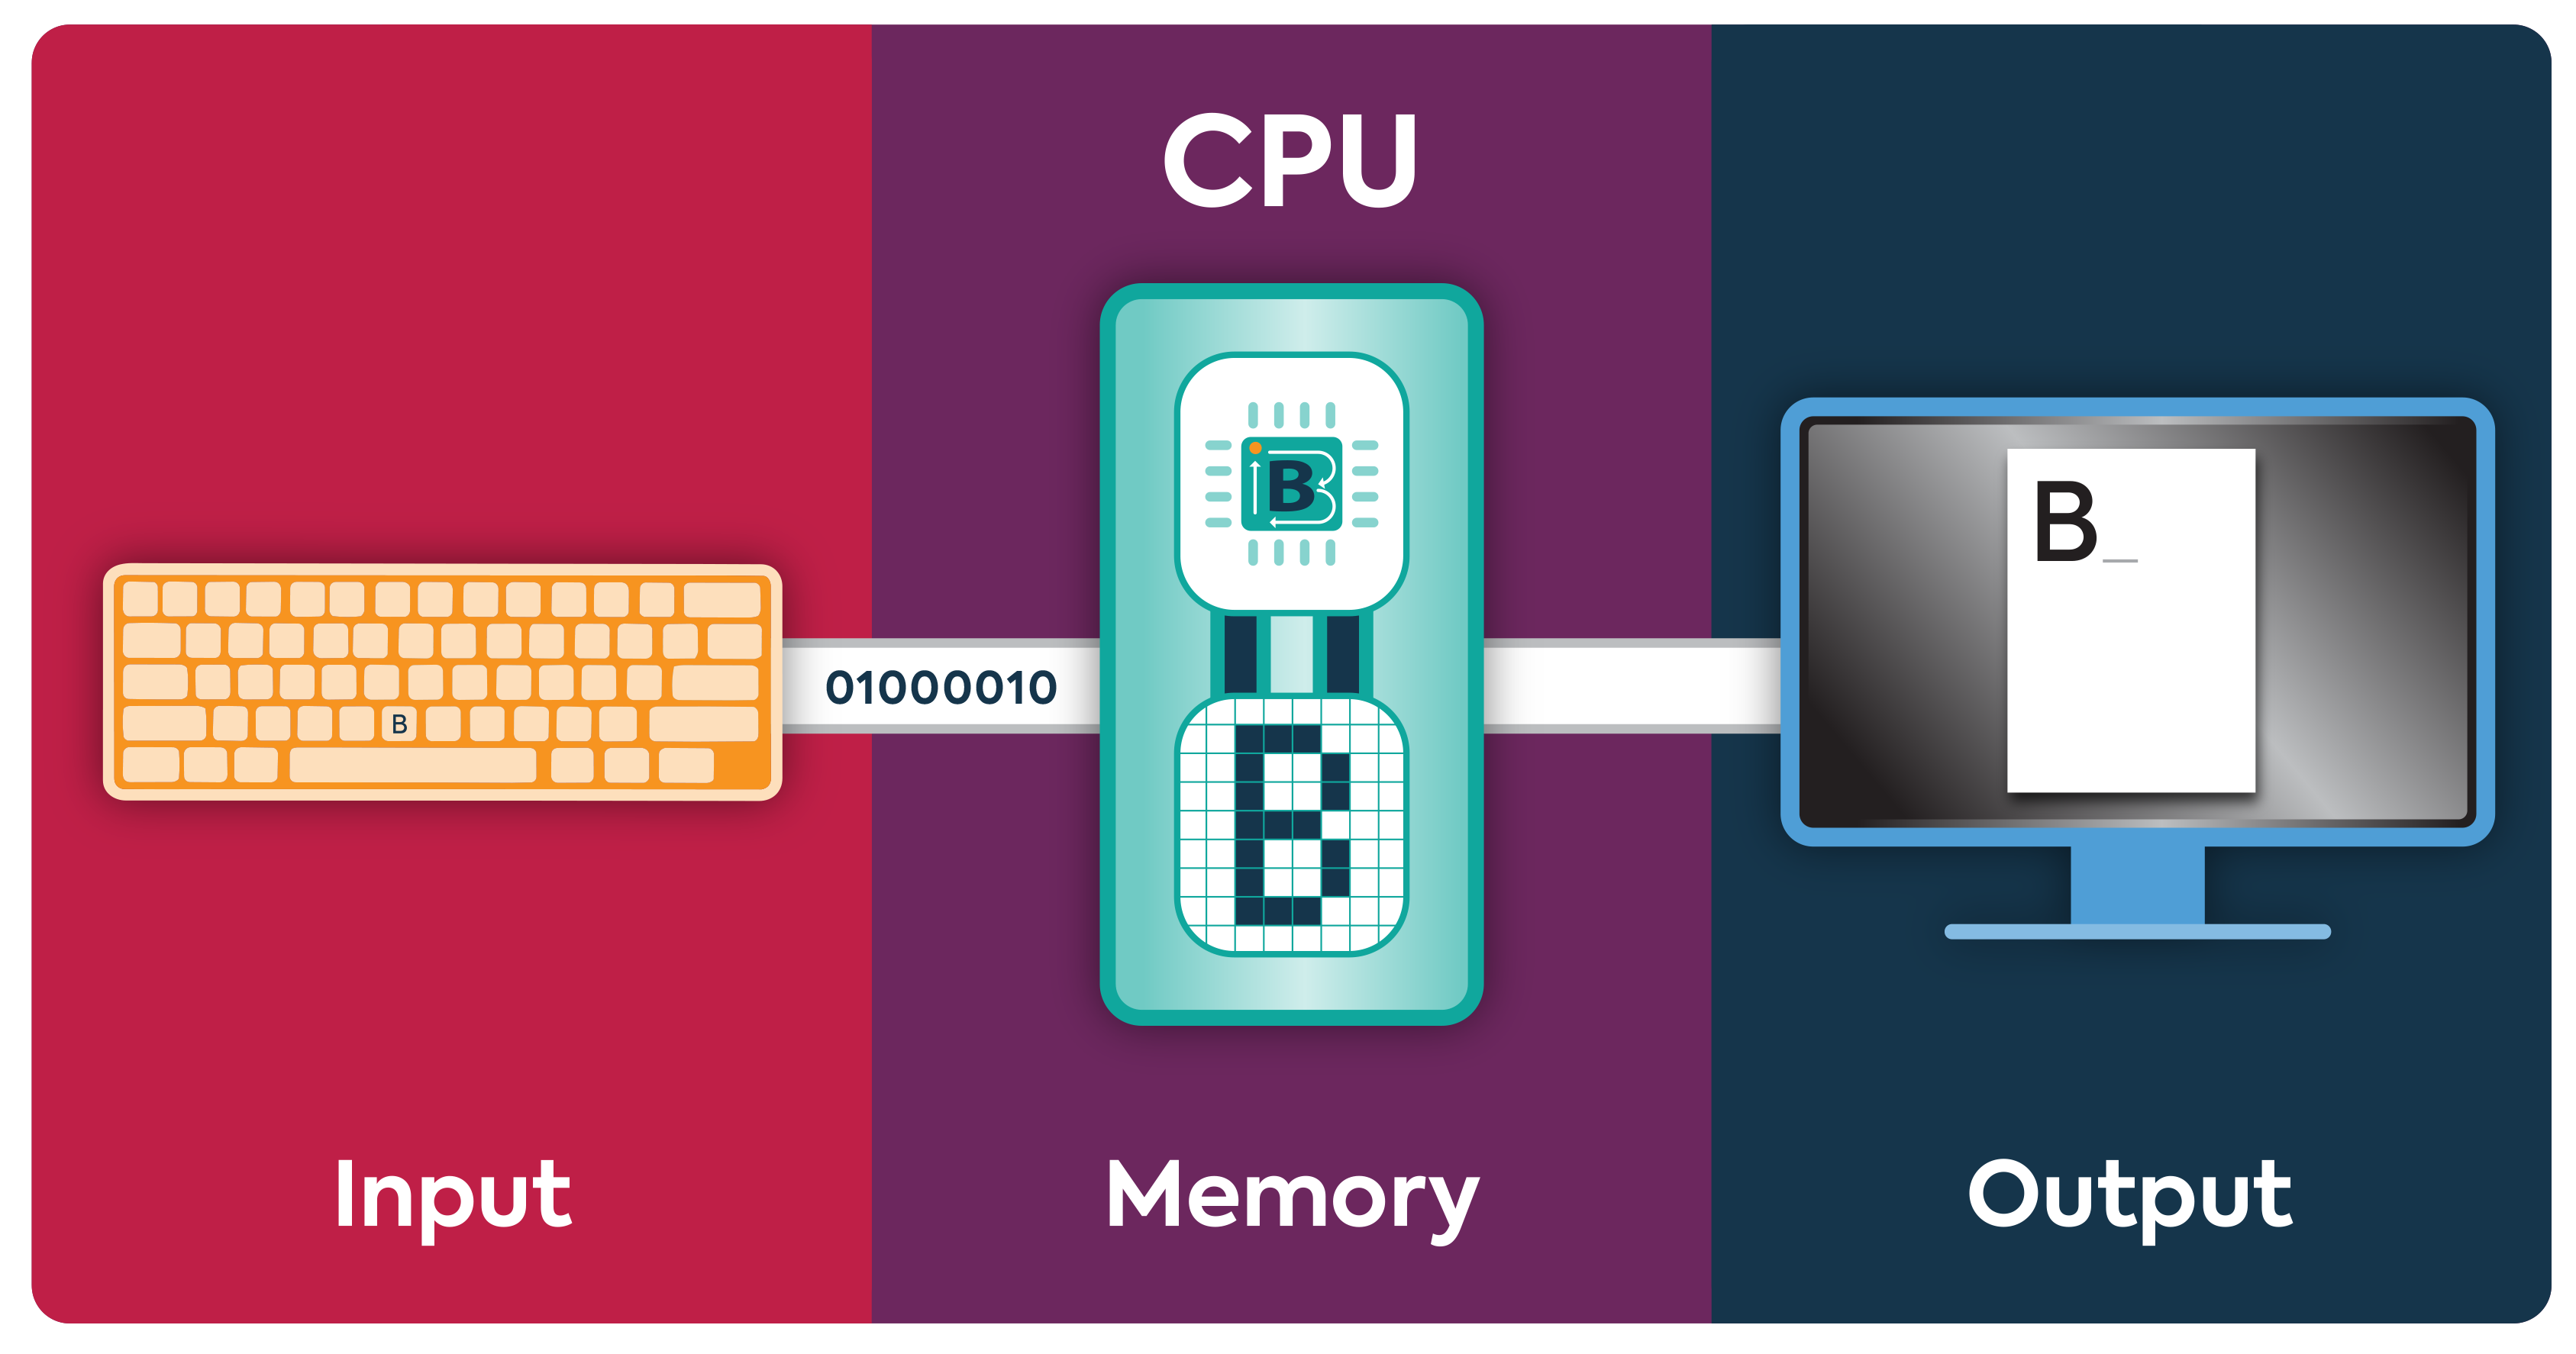
By the end of this lesson students will be able to explain how data moves through the components of a digital system to complete a task.
Retrieval: What parts of a computer do you think are involved when you open a game or play a video?
We use digital devices every day to play games, watch videos and create work. While these tasks appear simple, many components inside the device must work together behind the scenes. Each component has a specific role in storing data, processing instructions or producing output for the user. Today, we will investigate how these components work together to complete a digital task.
Begin with a familiar digital task, such as starting a video game, playing a video, or opening a saved file. Discuss what students see happening on the outside, then introduce the idea that multiple internal components are working together behind the scenes.
View the Code.org video, How computers work: CPU, memory, input & output. Take note of the role of each of these components:
- the motherboard
- the CPU (Central Processing Unit), typically installed on the motherboard
- the GPU (Graphics Processing Unit), which may be on a separate card
- the memory (RAM), typically plugged into the motherboard
- the hard disk drive or solid-state drive, typically connected to the motherboard
- the power supply and/or battery.
Teacher tip: Before viewing, assign each student one component to watch for. Use 3 cards for each component so students can later meet in expert groups, compare notes and write a short description of that component’s role to share as a class.
Present the challenge of tracing how data moves through the system to complete the chosen task.
In teams, students create a comic strip, storyboard or labelled sequence diagram showing how the components work together. Provide a scaffold such as:
- What starts the task?
- Where is the data stored first?
- Which component processes the instructions?
- Which component helps display the result?
- What output does the user experience?
For example, to begin playing a video game stored on the device, students might include:
- keyboard, mouse or controller
- storage device
- CPU (Central Processing Unit)
- GPU (Graphics Processing Unit)
- motherboard
- memory
- screen or monitor
- speaker
Students share their representation and explain how the components interact to make the task possible.
If students discuss accessing online games or streaming services, some students may believe that Wi-Fi and the internet are the same thing. Clarify that they are different. Wi-Fi is a wireless way for a device to connect to a network. The network provides access to the internet. The internet is a global system of connected networks that allows people to access websites, games and online services.
For example:
- A laptop connects to the school network using Wi-Fi.
- The school network connects to the internet.
- The laptop accesses the internet through the school network.
Evidence of learning
You might notice that students:
- correctly identify internal components of a digital system such as a computer
- create a representation that includes multiple internal and external components and shows how they work together to complete a task
- describe how data moves through the different components, using terms such as input, storage, memory and output.
Common misconceptions or errors to watch for
- Misidentifying components due to visual similarity or unfamiliarity with some components
- Believe that wi-fi and the internet are the same thing.
- Not being able to follow the movement of the data through the system.
Poster: Key ideas, practical examples, Australian Curriculum
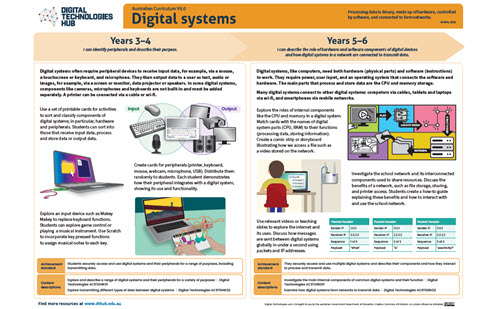
Download Digital systems poster (3-6) [PDF]
Digital systems in Years 7-8
Expectation for this band
Students can:
- identify specifications for hardware components in a digital system
- use specifications to select hardware so that the system is appropriate for a task or requirement
- identify and describe wired and wireless networks including the Internet
- describe how data is transmitted and secured within a network
The focus on hardware components shifts to discerning their performance for different tasks by referring to their specifications, while exploration of networks becomes more detailed, taking in concepts such as bandwidth and security of data.
Key terms in the curriculum
| Hardware specifications | Technical descriptions of hardware components used for selection or comparison |
|---|---|
| Wired | Data flows along a physical connection (cable) between devices, for example, Ethernet cables, optical fibre |
| Wireless | Data is transmitted without cables between devices, for example, wi-fi, mobile network |
| Security | Protection of data so that it is reliably available when needed, as well as preventing unwanted access |
| Internet | The super-network that interconnects smaller networks around the world |
What this looks like in practice
Students explore hardware specifications by comparing digital products familiar to them.
Network examples can also be familiar including home or school networks and typical tasks requiring the internet.
Students can explore security of transmitted data with hands-on activities focused on cryptography.
For example, students might:
- access an online computer store to compare the specifications of laptops or individual components
- watch a video to observe and discuss how packet switching breaks data down to send it across the internet
- compare physical networks (wired and wireless) to the networks related to First Nations Peoples’ trading practices throughout millennia, including trade routes
- use unplugged or online activities to practice simple encryption and decryption of messages.
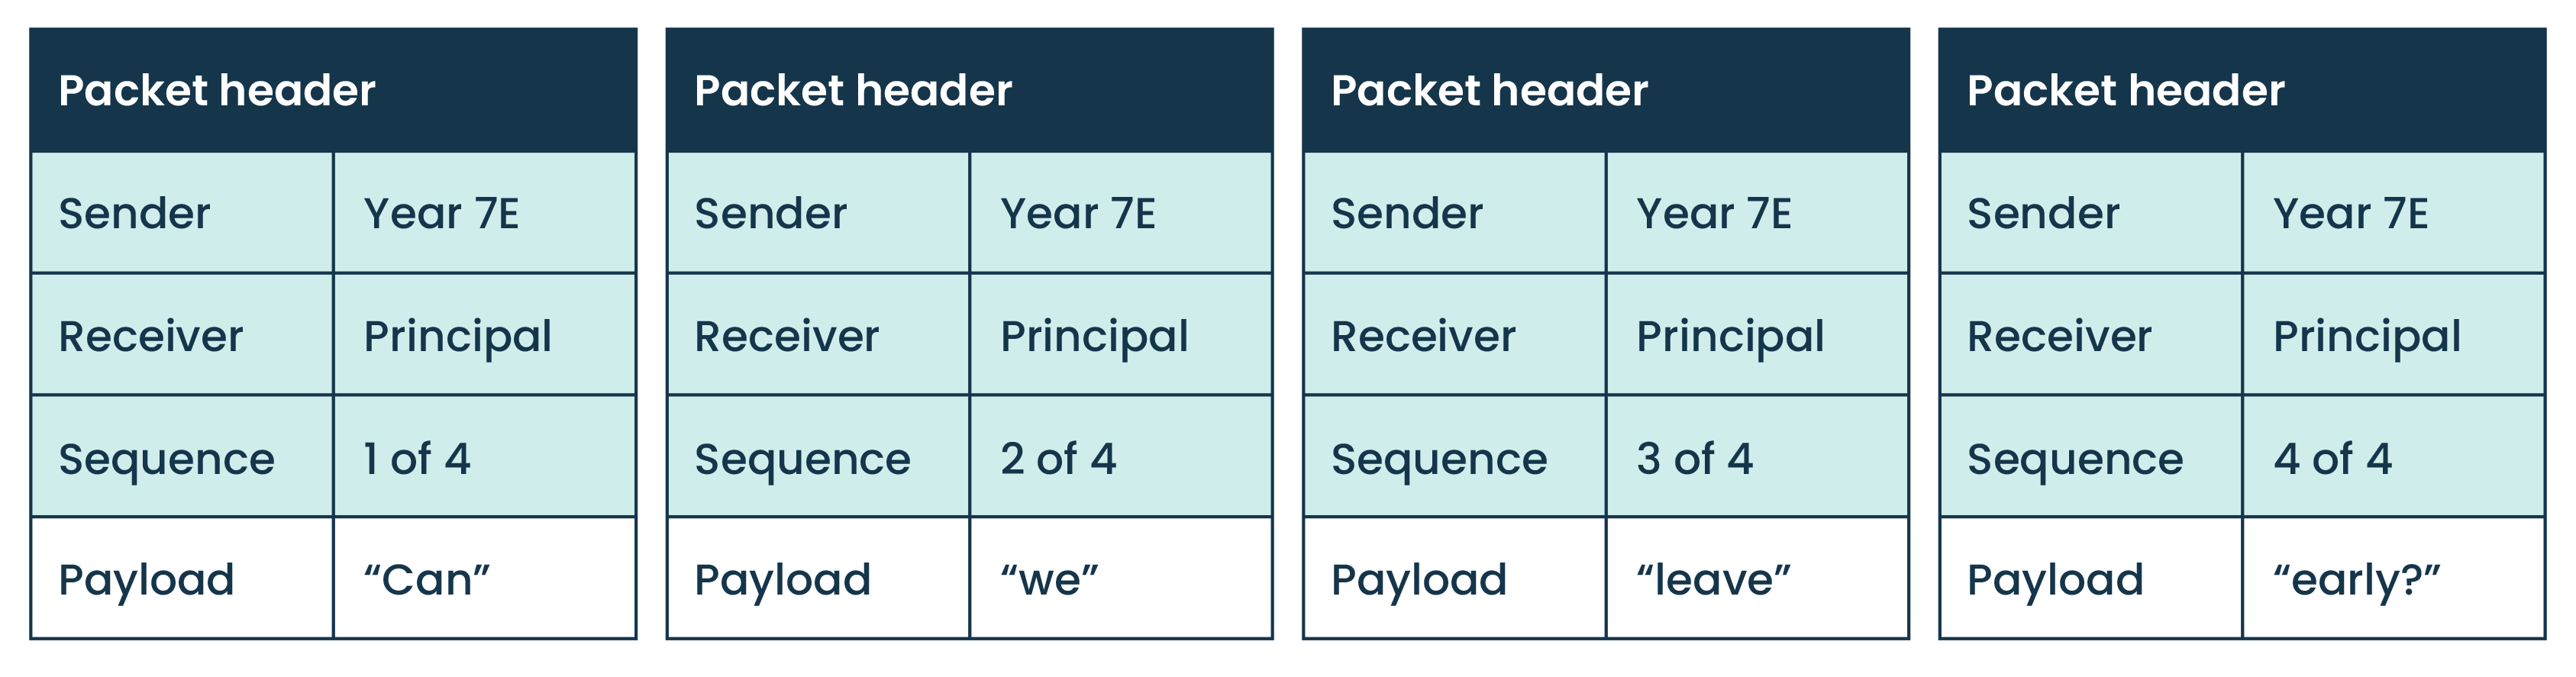
By the end of this lesson students will be able to describe how network protocols help deliver data reliably and securely across a network.
Retrieval: What happens when you press send on an email? Where does your email go and how does it reach the correct person?
Sending a message across a network is more complicated than simply pressing send. Devices use network protocols to break data into smaller pieces, deliver it to the correct destination and keep it secure. Today, we will explore how these protocols work by creating our own paper-based network.
As you attempt to send a message using only paper cards, you will encounter some of the same problems that computer networks face. Together, you will develop rules to solve these problems, just as real-world network protocols do.
This is a summary of the long-established Computer Science Unplugged activity Tablets Of Stone (opens in a new window) (PDF).
Students work together to communicate a message from one desk in the classroom to another using written cards which can hold only a very limited amount of information.
In doing so, students encounter and discuss the need for network protocols which are shared rules that ensure:
- each card is delivered to the correct destination
- the full message can be broken down onto multiple cards and properly reassembled in order at the destination
- cards are delivered reliably to their destination, or can be requested and resent if not
- the message is secured so that it can’t be understood by a third party.
With additional information from the teacher or suitable videos, students discover that the improvements they make to their paper communication system are metaphors for real digital protocols used to deliver and secure packets of data over the internet, such as TCP/IP and data encryption.
Evidence of learning
You might notice that students:
- suggest improvements to the integrity of their paper message system, such as writing a destination address on each card, a source address, and adding numbers to order the message parts for reconstruction
- suggest improvements to the security of their paper message system, such as encrypting and decrypting the message
- through discussion, make the connections between the need for paper network protocols and the need for digital network protocols like TCP/IP and data encryption.
Common misconceptions or errors to watch for
- Assuming the sender and recipient can communicate outside of the paper system
- Assuming that a message is secure provided the cards are not intercepted
- Not applying the concepts across to the real protocols used on digital networks.
- Believe that Wi-F- and the internet are the same thing.
Digital systems in Years 9-10
Expectation for this band
Students can:
- describe how hardware and software within a digital system manages and controls data
- explain how various network hardware and protocols manage and control the data transmitted in networks, including across the internet
- explain how access to data is controlled within a network.
The focus is now on how both hardware and software in digital systems manage and control data, including across networks.
Key term in the curriculum
| Encryption | Turning information into a secret code so only authorised people can read it |
|---|---|
| Symmetric encryption | A type of encryption where the same key is used to lock and unlock the information |
| Asymmetric encryption | A type of encryption that uses two different keys: one public key to lock the information and one private key to unlock it |
What this looks like in practice
Students investigate specific hardware and software to understand their purpose or benefit when it comes to controlling and securing data.
For example, students might:
- describe how the operating system of a laptop or phone controls and manages the data from hardware devices like keyboards and screens, exposing only what is necessary and useful to users and software running atop it
- create a slide presentation or video demonstrating how a key security technology, such as asymmetric encryption, works
- role-play different user roles within an organisation’s network, demonstrating role-based access to data, applications and devices.
By the end of this lesson students will be able to describe how encryption helps protect data transmitted across a network and compare symmetric and asymmetric encryption.
Retrieval: What do you expect to happen when you enter your banking details on a website? How would you want that information to be protected while it travels across the internet?
When information travels across the internet, it needs to be protected from unauthorised access. Encryption is used to keep data secure. In this lesson, we will compare two common approaches to encryption: symmetric encryption and asymmetric encryption.
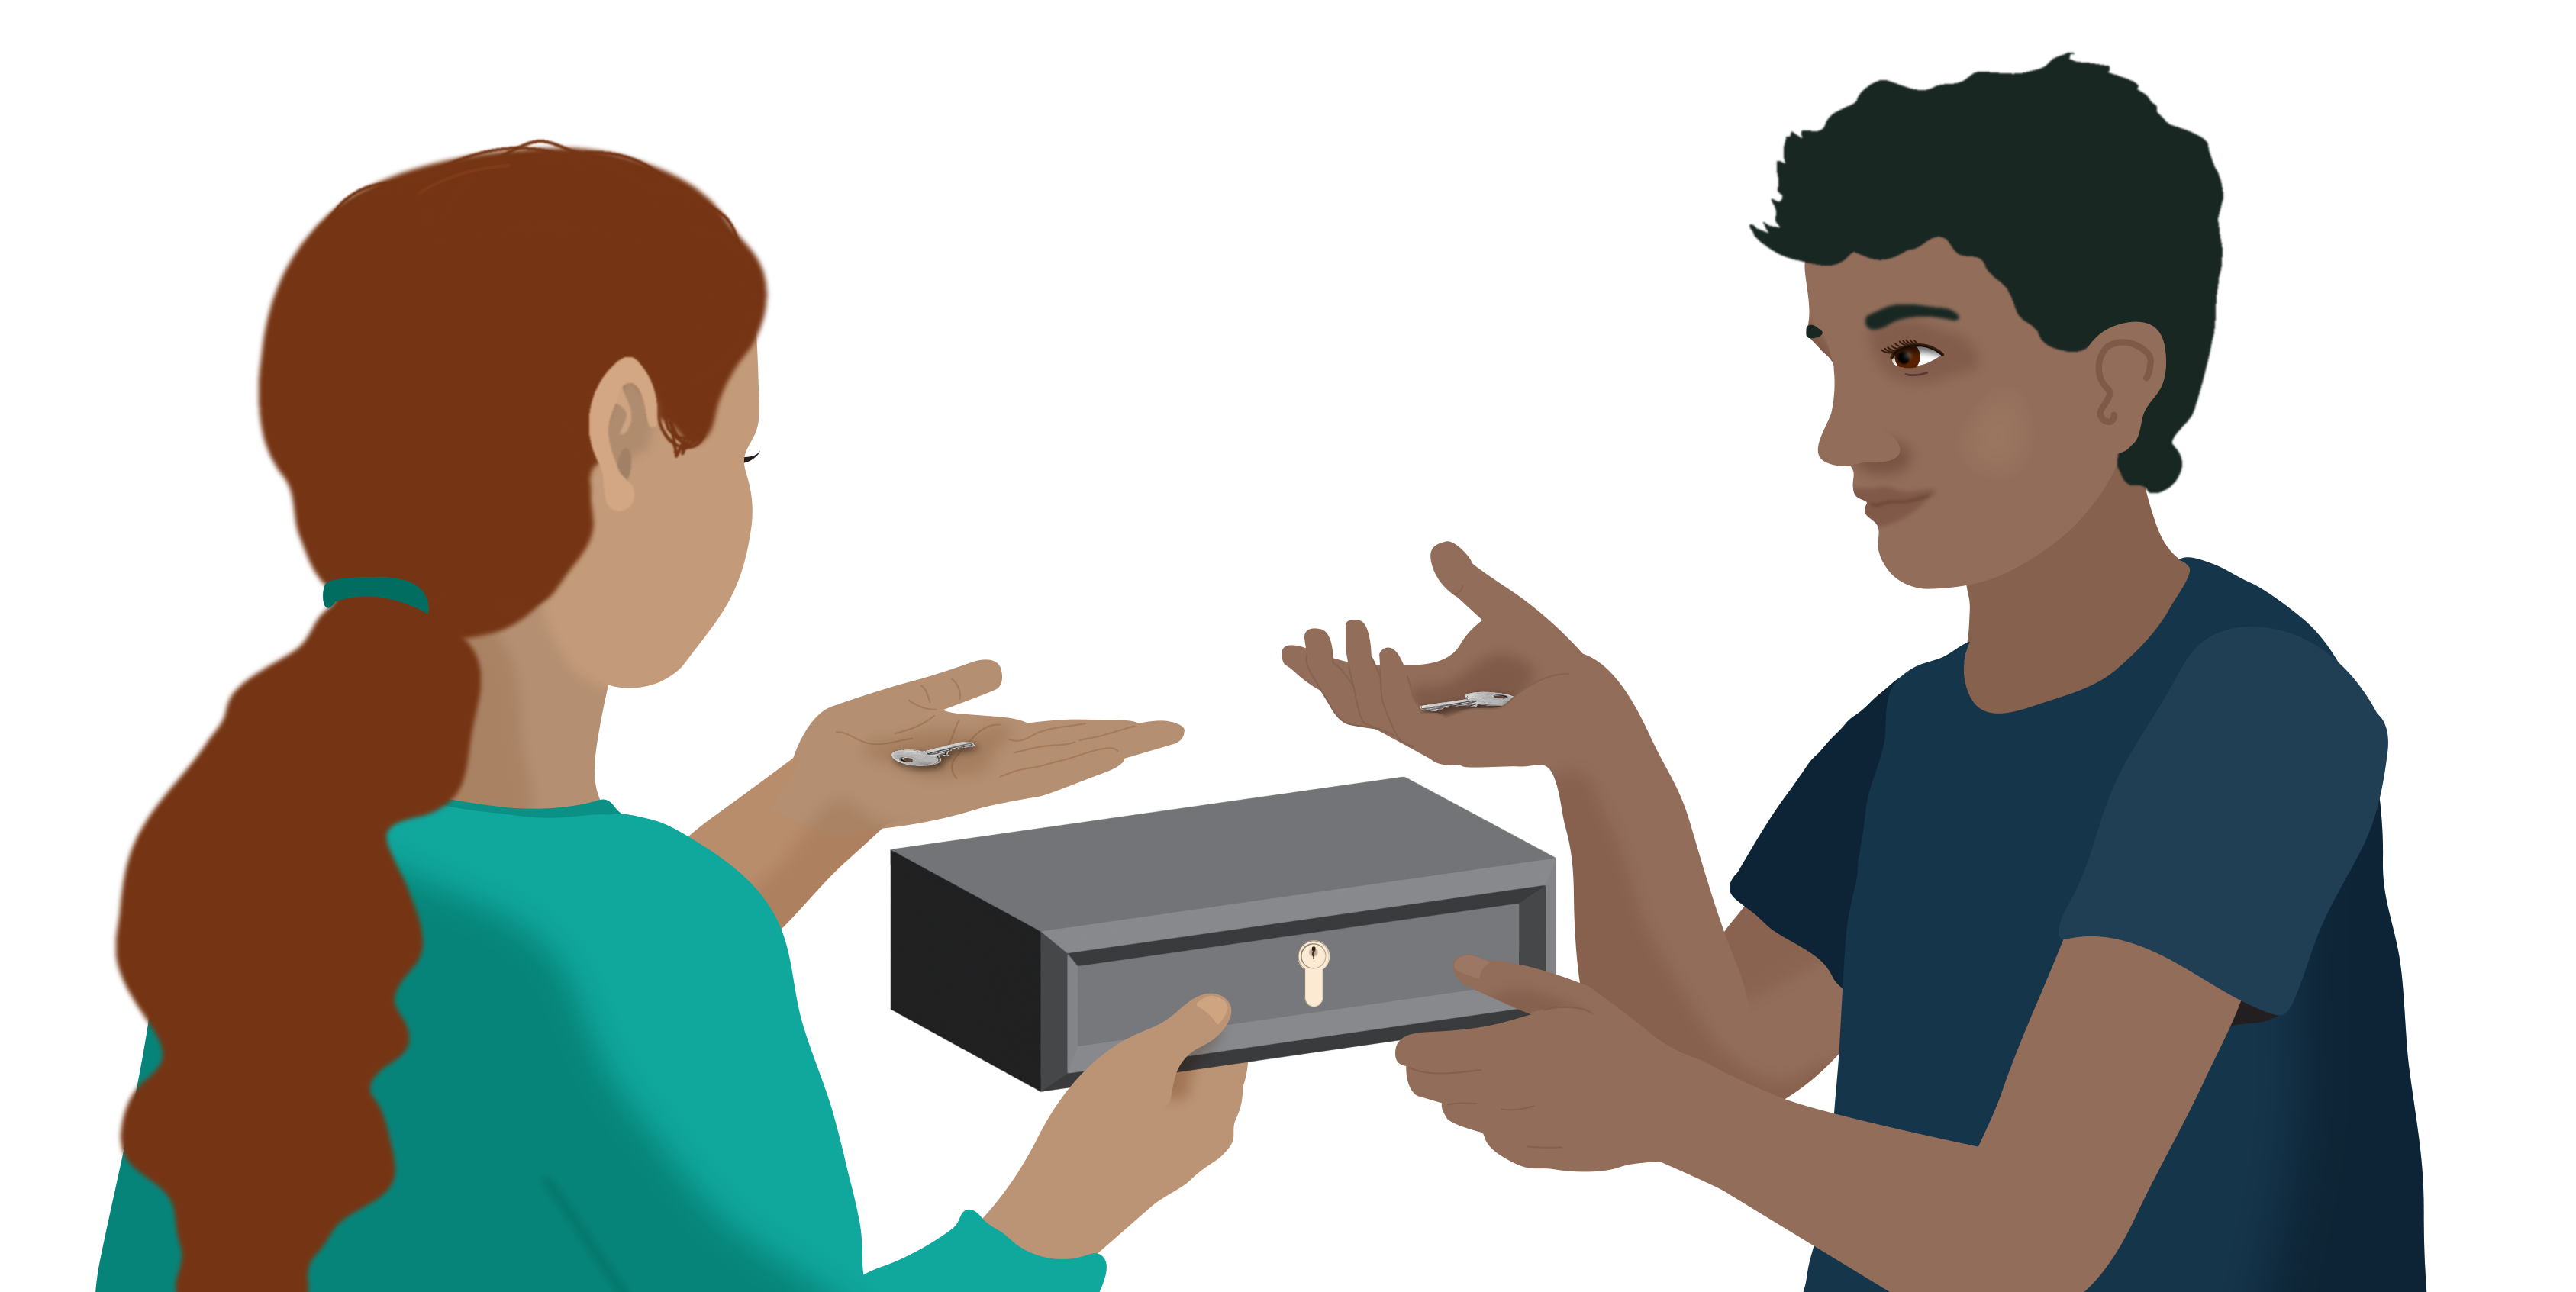
This short demonstration uses everyday objects to help students understand the difference between symmetric and asymmetric encryption. You will need:
- 1 small box or container
- 1 padlock with 2 matching keys
- 2 short paper messages or note cards.
It works best after students have already tried a simple cipher, such as a Caesar cipher, to encrypt and decrypt a message.
To show symmetric encryption, introduce a scenario where two people, Kim and Rolf, use a box with a padlock to send messages. They both have a copy of the same key, and no one else has it. Kim can lock the box before sending it, and Rolf can unlock it when it arrives. Rolf can then use the same key to lock a reply and send it back.
A digital example is wi-fi security in a home network. Devices on the same network use a shared password or key to help protect the data being sent. This is similar to symmetric encryption because the same secret is shared between the devices that need to communicate.
Students discuss and explore:
- How is a shared password stronger than a simple cipher such as a Caesar cipher?
- Why might sharing one secret key become a problem if many people need to communicate?
To show asymmetric encryption, imagine Kim now wants to communicate securely with both Rolf and another person, Angie. If Kim had to give each person the same secret key, that key would be shared more widely, which makes it less secure.
Instead, Kim creates her own padlock and keeps the only matching key. She can hand out open copies of the padlock to anyone who wants to send her a secure message. Rolf and Angie each place their message in a box and lock it using Kim’s padlock. Once locked, only Kim can open the box because only she has the matching key.
A digital example is public key encryption, which is used in technologies such as HTTPS. A computer creates two keys: a public key, which can be shared openly, and a private key, which is kept secret. A message encrypted with the public key can only be decrypted with the matching private key. This means people can send secure messages without first sharing a secret key.
Students discuss: Why is asymmetric encryption useful when people need to communicate securely over the Internet?
As an extension, students could investigate the mathematical ideas behind how public and private keys are generated.
Evidence of learning
You might notice that students:
- describe the two scenarios in the padlock metaphor as well as in real digital world
- demonstrate the steps involved in symmetric encryption
- demonstrate the steps involved in asymmetric encryption
- justify the need for asymmetric encryption.
Common misconceptions or errors to watch for
- Assuming that all encryption works the same way
- Assuming that common digital encryption technologies are as simple as a Caesar cipher
- Confusing the intended applications of symmetric encryption and asymmetric encryption.
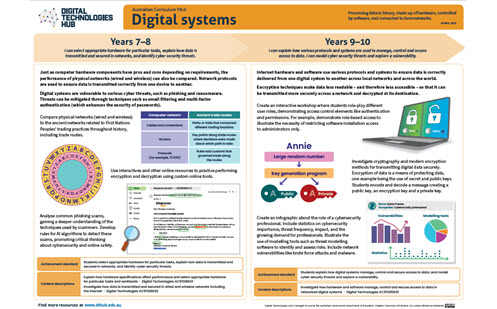
Poster: Key ideas, practical examples, Australian Curriculum
Download Digital systems poster (7-10) [PDF]
Plan your teaching
Explore sample units and lessons.
These sample units show how digital systems can be taught as a short sequence or extended unit at each year level.
Foundation: Using digital systems safely
Years 1–2: Using digital systems safely
Years 3–4: Digital systems, safety and security
Years 5–6: Digital systems, safety and security
Years 7–8: Hardware, networks and cyber threats
Years 9–10: Cybersecurity
Use this planning template to record relevant information as you view a scope and sequence topic for your year level.
Research-informed teaching
Evidence-based approaches
- Unplugged learning (familiar routines and examples)
- Semantic waves (concrete → abstract)
- Dual coding (visual + verbal)
- Worked examples with gradually reduced scaffolding
- Culturally responsive pedagogies
Unplugged learning
Research from CS Unplugged shows that introducing computing concepts without devices helps students focus on core ideas before adding technical complexity.
What this looks like in practice:
- Begin with a visible or tangible representation (objects, images, symbols or simple grids).
- Use everyday language to describe what the representation shows before introducing formal terms.
- Focus discussion on how information is represented, not how it is processed.
- Use physical or visual models to show that digital systems represent information using simple, consistent units.
- Introduce formal concepts (such as network, router, packet, IP address) after students understand the underlying idea.
Example:
When introducing how messages travel across a network, a teacher first uses a school-based role-play instead of digital devices. Students relate computer network terms to familiar parts of the school, such as room names as addresses, hallways as the network, the school map as domain name system (DNS), individual students as nodes, and the office as a router.
One student writes a short message and, with the help of others, sends it to another location in the school by following agreed rules. The message is then broken into three smaller parts, with three students each carrying one packet. Students discuss how the parts need destination information and sequence numbers so the full message can be reassembled correctly. They focus on the core idea that networks move data between locations using routes, addresses and packets, before applying this understanding to digital systems and internet protocols.
Concrete → abstract learning (Semantic waves)
Research from the National Centre for Computing Education shows that students understand abstract ideas more deeply when teachers deliberately move between everyday examples and formal terminology.
What this looks like in practice:
- Start with a familiar, concrete example such as a digital device, a peripheral, or a simple network model.
- Ask students what they notice about what each part does and how the parts work together.
- Introduce formal terms such as hardware, software, input, output, network, or encryption.
- Revisit the example and describe it using digital systems vocabulary.
Example:
When introducing encryption, a teacher begins with a familiar padlock-and-box demonstration to show how messages can be protected. Students first describe what they see in everyday language, such as one key opening one lock, or one person keeping a key while others use the lock. The teacher then introduces formal terms such as symmetric encryption, asymmetric encryption, public key and private key, linking each term back to the physical demonstration. Students move between the concrete example and the formal language as they explain how different types of encryption protect data.
Dual coding
Research synthesised by Richard E. Mayer shows that students learn new concepts more effectively when information is presented using both words and visuals, reducing cognitive load and supporting deeper understanding.
What this looks like in practice:
- Present new concepts using both spoken or written explanations and visual representations.
- Use diagrams, images, symbols or simple models alongside verbal descriptions.
- Explicitly link the visual elements to the language being used.
- Revisit the concept using both modes together to reinforce understanding.
Example:
When introducing digital systems, a teacher shows a simple Venn diagram with one circle labelled 'input' and the other labelled 'output', while explaining the roles of different peripherals. Students hear terms such as 'input', 'output' and 'peripheral' while seeing examples placed in the diagram, such as a keyboard in the input circle, a speaker in the output circle, and a touchscreen in the overlapping section because it can both receive touch and display information. Students refer to both the visual diagram and the verbal explanation when describing how peripherals can have different roles in a digital system.
Worked examples and scaffolding
Research synthesised by Australian Education Research Organisation shows that modelling worked examples and gradually reducing support improves learning of complex procedures.
What this looks like in practice:
- Model a complete example of how hardware and software work together in a familiar digital task.
- Make the thinking visible by naming the parts involved and explaining the role each one plays.
- Provide partially completed examples with prompts or diagrams for students to finish.
- Gradually remove support so students can independently explain how hardware and software work together in a new context.
Example:
The teacher begins with a familiar task, such as taking a photo on a tablet. They model the example by identifying the hardware (camera, screen, touchscreen, storage) and the software (camera app) involved, explaining how the software tells the hardware what to do. Next, students complete a partially scaffolded example for a different task, such as recording sound or typing a short message, using a table or diagram with some parts already labelled. Finally, students choose another familiar task and independently identify the hardware and software involved, describing how they work together to complete it.
Culturally responsive pedagogies
Culturally responsive pedagogies recognise and value students’ cultural identities, experiences and ways of knowing, and use these as a foundation for learning.
What this looks like in practice:
- Connect new digital systems concepts to culturally grounded examples of communication, exchange and trust.
- Invite students to compare the roles of network components with the roles of places, pathways, rules and systems First Nations trading routes used for millennia.
- Use analogies carefully and respectfully, making clear that digital networks and First Nations trading routes are not the same thing, but can be compared in limited ways to support understanding of movement, connection, access and trust.
- Where possible, co-design learning with local communities or draw on First Nations-led resources and perspectives.
- Ensure cultural examples are used respectfully and purposefully to support learning.
Example:
Students explore the roles of network components such as nodes, routers, switches and protocols, then compare these with First Nations trading routes used for millennia. For example, nodes may be compared to places where goods were exchanged, cables to the paths connecting places, and protocols to the rules and customs that supported trade. This helps students understand that both systems rely on connection, pathways, organisation and agreed processes.
Important guidance:
- Make clear that this is a comparison for learning, not a claim that the systems are the same.
- Use First Nations examples respectfully and purposefully, recognising their cultural, social and historical significance.
- Where possible, co-design with local communities or use First Nations-led resources.
Check understanding
- Foundation: At-home activity
- 1–2: Culminating task from lessons
- 3–4: Record from lesson
- 5–6: Assessment task and checklist
- 7–8: Assessment rubric
- 9–10: Online course assessments
Teachers can assess student learning (for example, checklists, observations, rubrics, student work samples).
- Foundation Use the at-home activity We’re going on a computer hunt after key learning in class to assess students’ understanding of digital systems and their parts.
- Years 1–2 Use the culminating task from the lessons Clever computers to assess students’ skills and knowledge in identifying hardware and software.
- Years 3–4 Use the recording sheet from the lesson Peripherals to assess students' skills and knowledge in identifying and classifying digital system peripherals.
- Years 5–6 Use the assessment task and associated checklist Digital Systems Assessment to assess students’ skills and knowledge of hardware and software as well as networks for a purpose.
- Years 7–8 Use the assessment rubric in the Hardware, networks and cyber threats unit to assess students’ skills and knowledge across multiple criteria.
- Years 9–10 Use the assessment portions of online course units such as The Internet (opens in a new window) and Cybersecurity and Global Impacts (opens in a new window) to assess students’ knowledge and skills in network hardware, protocols and security. (Assessment portions require free teacher verification.)
Deepen your understanding
Explore these resources to help teach about data representation in digital systems:
- Hello Ruby (opens in a new window) – videos and other teacher resources designed for lower Primary years
- Educational videos about CS and AI (opens in a new window) – refer to 'How computers work'
- Computer networks crash course (opens in a new window) – short video that introduces network concepts
- The internet crash course (opens in a new window) – short video that builds on network concepts
- Public and private keys: How is your personal information kept secret on the internet? – short video that builds on encryption concepts
Supporting resources
- Download posters by year band: [F–2] [3–6] [7–10]
- Download full F–10 pack of posters
- DT Unit Planning Template (6–8 weeks) MS Word