Design thinking
This resource helps Digital Technologies teachers make sure their teaching of design thinking is
aligned with the Australian Curriculum from Foundation to Year 10.
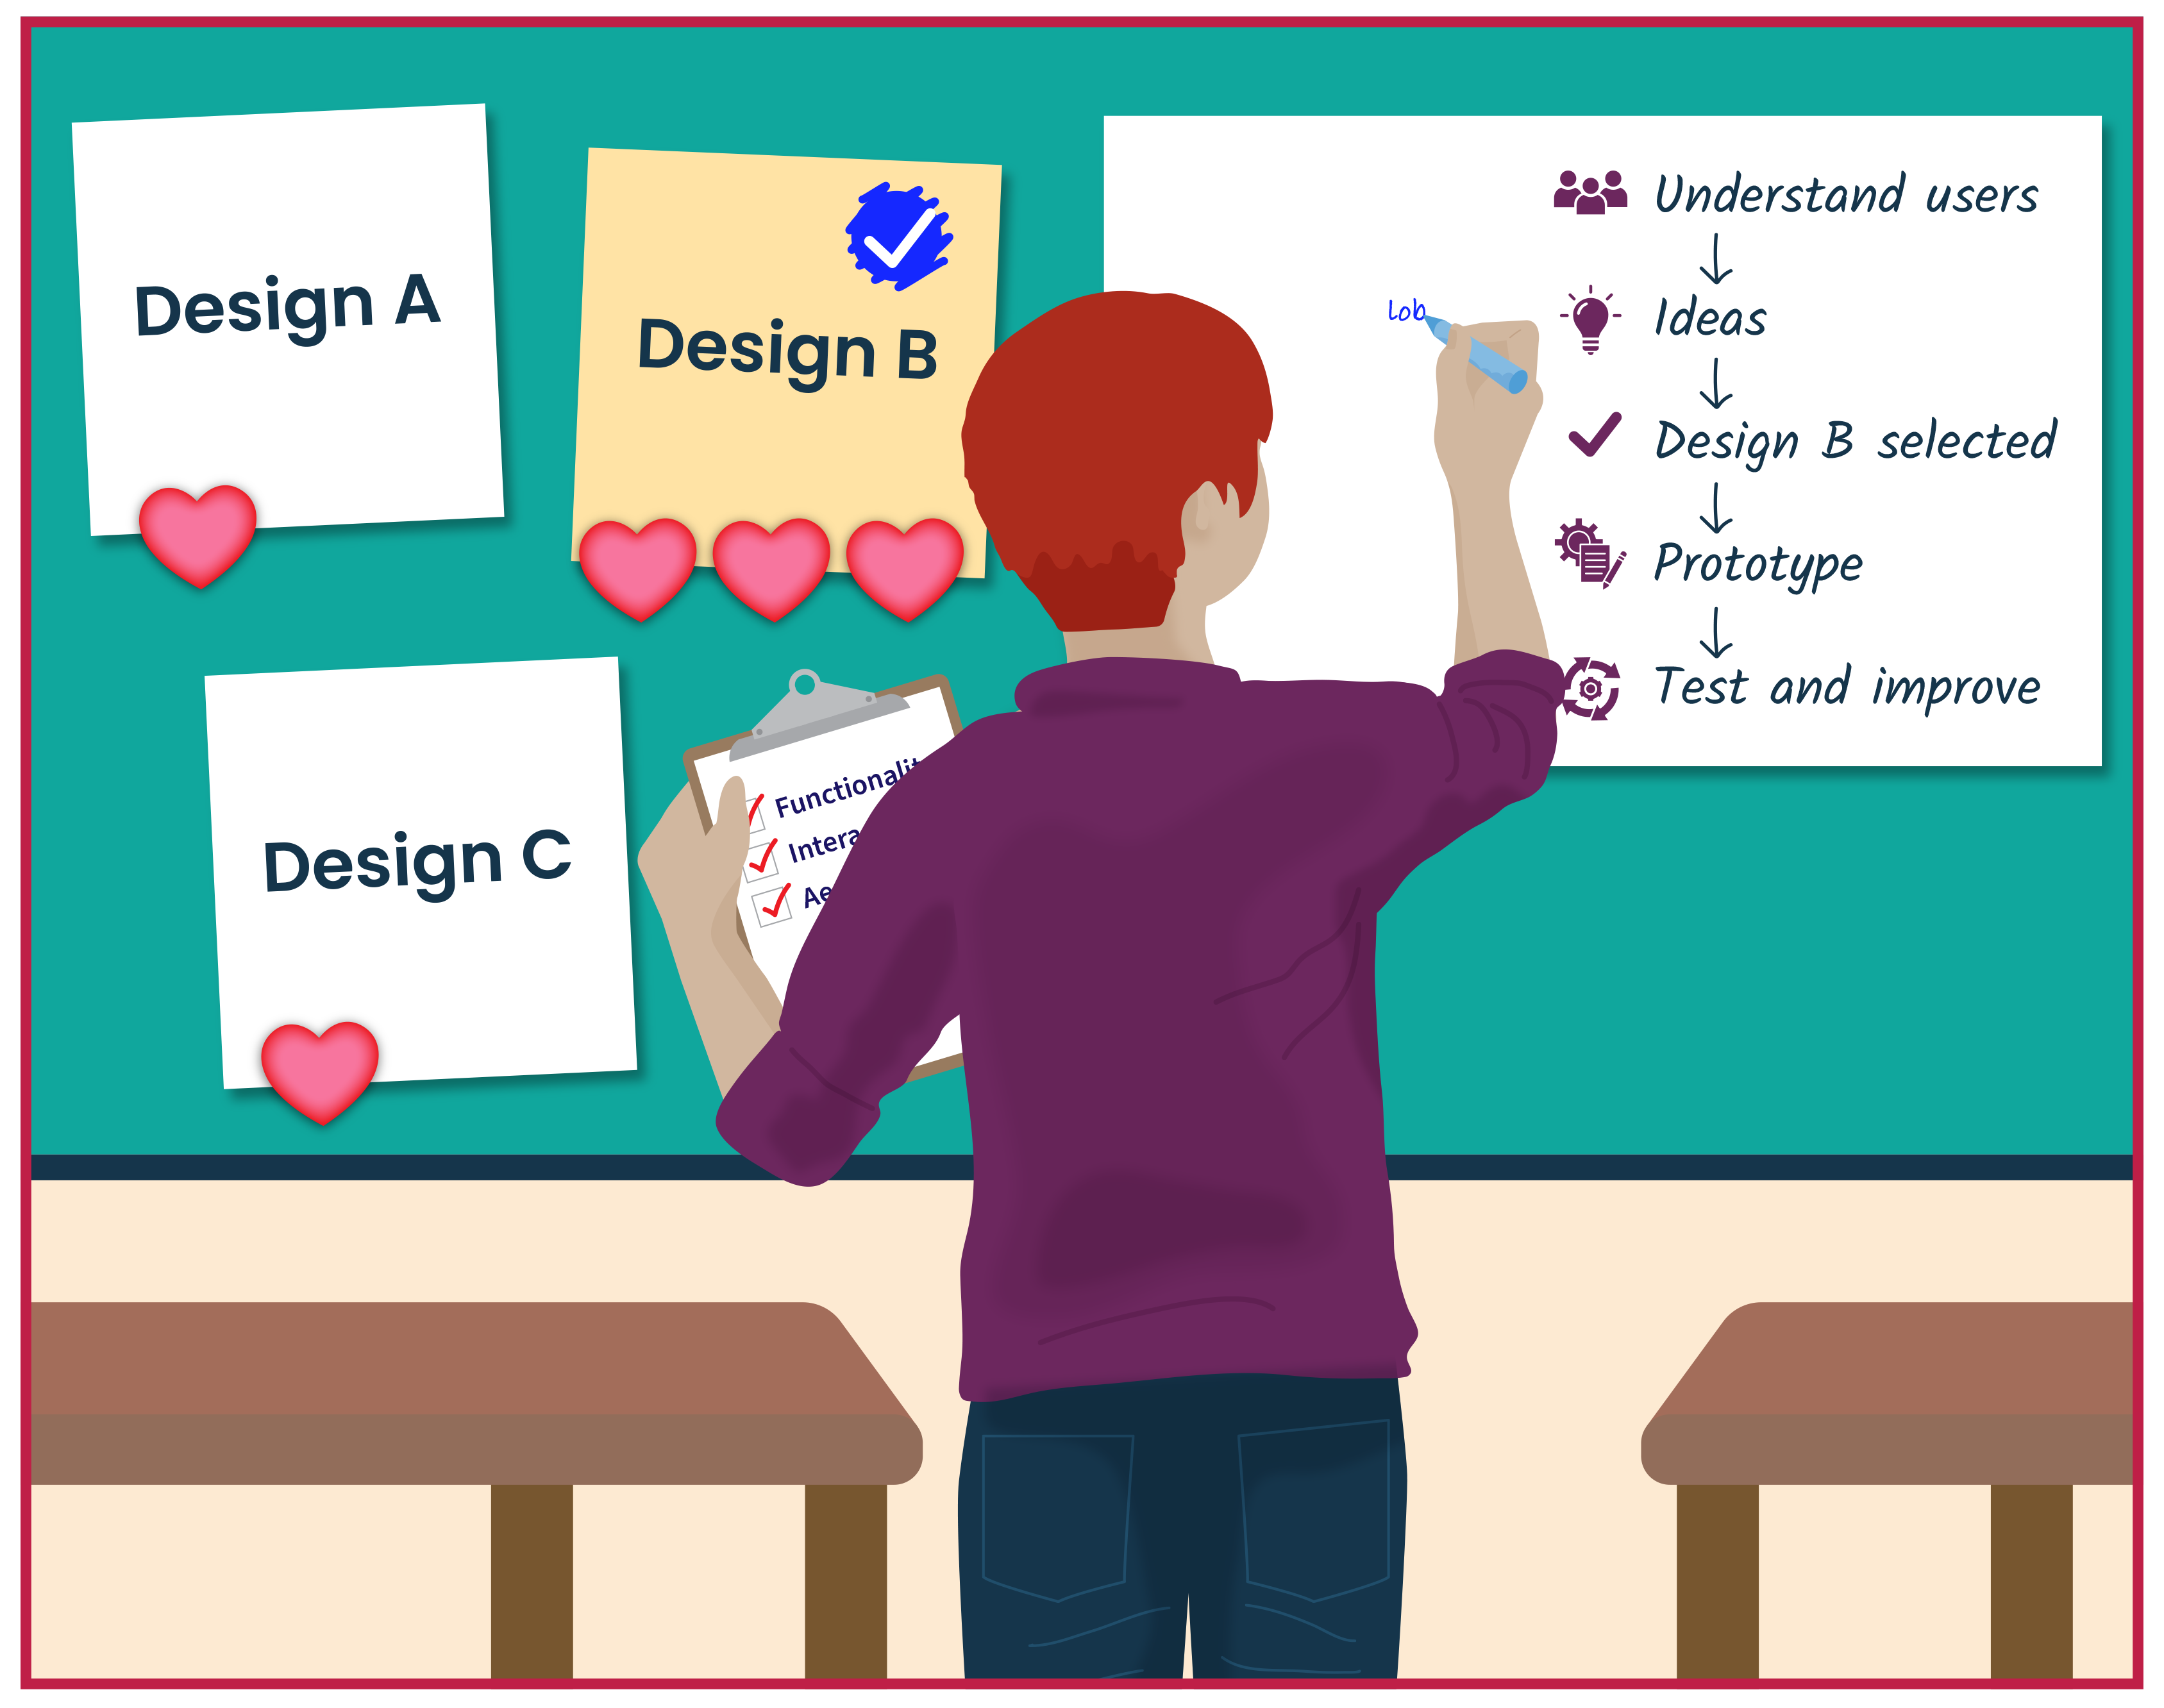
What you'll find
- Clear explanations of core design thinking ideas
- Ideas supporting progressive development of design thinking
- Practical classroom activities
- Resources to help in planning and assessment
Applying design thinking
Design thinking is embedded across Digital Technologies and can be applied to processes and productions skills by using an authentic context to design, implement and evaluate a solution.
Design thinking focus by year band:
| Year band | Students learn to |
|---|---|
| Foundation | Not included at this level in Digital Technologies |
| 1 - 2 | With guidance, investigate and evaluate familiar digital solutions. |
| 3 - 4 | Create simple digital solutions and use provided design criteria to check if solutions meet user needs. |
| 5 - 6 | Develop and modify digital solutions, and define problems and evaluate solutions using user stories and design criteria. |
| 7 - 8 | Develop and modify creative digital solutions, decompose real-world problems, and evaluate alternative solutions against user stories and design criteria. |
| 9 - 10 | Develop and modify innovative digital solutions, decompose real-world problems, and critically evaluate alternative solutions against stakeholder-elicited user stories. |
What is design thinking?
Design thinking is a methodology used to solve complex problems and find useful solutions. Students can apply design thinking to generate new ideas for further development and evaluate these based on criteria to help them design meaningful solutions to problems posed. This type of thinking is often used to help promote creative thinking, teamwork and have students take responsibility for their own learning.
‘Design thinking helps people to empathise and understand needs, opportunities and problems; generate, iterate and represent innovative, user-centred ideas; and analyse and evaluate those ideas.’ ACARA, 2022
A simpler explanation can help …
Design thinking is a way of solving problems by understanding people’s needs, coming up with creative ideas, and improving those ideas to develop a useful solution.
Why is it relevant?
Design thinking helps students understand people’s needs, create ideas and improve them to design meaningful solutions.
Key terms in the curriculum
| User | Anyone who uses the solution; a user can be a made-up character, but it may also be a real person |
|---|---|
| Known user | A known user is a real person a student knows, such as a friend, teacher or family member; it is not a made-up character |
| Real-world problems | Authentic issues that affect people, communities or systems, and can be clearly defined, broken down and solved using design criteria and user stories |
| Define problems | Clearly explaining what the problem is, who it affects, and what a suitable solution needs to do |
| User stories | A user story tells who the user is, what they want and why it matters |
| Design criteria | The specific requirements a solution must meet, used to guide decisions and judge how well the final solution works for its users |
| Prototype | A trial model used to test an idea or process and to inform further design development. Its purpose is to see if and how well the design works. It is tested by users, programmers and analysts |
| User | Anyone who uses the digital solution. For an automated cat feeder, the users are the cat owner and the cat. For a wearable designed to promote wellbeing, the users are the teenagers who will wear it. |
|---|---|
| Known user | Students in the school who use the library borrowing system are known users because the design thinking students can describe who they are and what they need. |
| Real-world problems | An authentic issue that students can relate to, such as teenagers struggling with stress and healthy living due to academic pressure, social media and lack of resources. |
| Define problems | When defining a problem, a clear problem statement is crucial to framing the design challenge. For example, ‘Students often stay seated for long periods while studying, which impacts their health and focus. A solution is needed to encourage movement and improve wellbeing and productivity.’ |
| User stories | When developing a user story, students use the following template: As a <type of user> I want to <a goal> so that <reason for the goal or benefit>. For example: As a teenager, I want to receive daily suggestions, so that I can stay motivated and build healthy habits. |
| Design criteria | For example, the design criteria for an automated cat feeding system. The cat feeder must:
|
| Prototype | Students create a prototype that focuses on one key function of their automated cat feeding system. They program a micro:bit to perform a simple countdown that triggers an event to simulate feeding, rather than building the full system with all features. |
Connections to computational thinking and systems thinking
Some aspects of designing digital solutions naturally connect and are complementary to computational thinking, such as breaking down problems, identifying key information and planning steps. Teachers may find it useful to revisit the ‘Computational thinking’ topic for additional examples and explanations.
Systems thinking and design thinking can support students to design solutions to real problems including those that have a digital solution. Seeing the solution in terms of interacting parts is a foundation of systems thinking. Teachers may find it useful to revisit the ‘Systems thinking’ topic for additional examples and explanations.
What to teach?
Design thinking can be introduced early, from Year 1, and build in complexity right through to Year 10.
Here’s how the concept develops across year bands:
Design thinking in Years 1-2
Expectation for this band
Students can:
- identify problems that their friends, their school or they themselves may face and think about how digital systems can help solve them
- describe ways digital systems help meet the needs of people they know, such as their friends and family
- describe how well a familiar digital system meets the needs of users.
The focus is on understanding the needs of known users and familiar problems, which lays the groundwork for future learning.
What this looks like in practice
Students start to apply design thinking when they:
- identify a simple problem or need in their classroom, school or home
- explore a familiar digital system and talk about how it helps solve that problem
- discuss how the system works, who it is for, and how it helps people
- represent what they learned using drawings, photos, simple models or demonstrations to show someone else how the solution works.

By the end of this lesson, students will be able to describe a familiar digital system and how it used.
Retrieval: Think about sending a celebration message. What technology might you use? What would you do if that technology was unavailable?
Choose a familiar digital system. Explore the question, ‘What if we didn’t have this technology?’ Students imagine and discuss how tasks would be performed without it. They discuss how a digital system satisfies the needs of users.
Give students a concrete example first, such as a tablet device, school library digital borrowing system or a smartphone, and model thinking aloud: ‘If we didn’t have this, how would we solve the problem?’
Provide simple prompts to guide discussion, such as:
- What problem does this solve?
- Who uses it?
- What could we use instead?
Encourage students to draw or act out their ideas, helping them compare solutions and recognise how the digital system meets people’s needs more easily.
Evidence of learning
You might notice that students:
- identify who uses the solution, selecting from familiar people such as friends, class members and family
- suggest different ideas for how the problem could be solved using drawings, objects or simple digital tools
- with guidance talk about what worked and what could be improved.
If students can explain why a solution or idea helps the known user, they are demonstrating early design thinking.
Common misconceptions or errors to watch for
- Choosing an idea without explaining why it helps the known user
- Describing what the solution looks like instead of how or who it helps.
Address these explicitly during modelling and discussion.
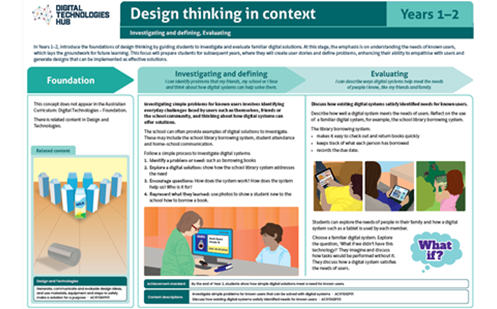
Poster: Key ideas, practical examples, Australian Curriculum
Download Designing a digital solution poster (F-2) [PDF] (opens in a new window)
Design thinking in Years 3-4
Expectation for this band
Students can:
- describe needs of the user in the context of a design challenge
- co-create a user story to understand the user and their needs
- define a problem using given design criteria
- generate different ways they could solve the problem
- develop a basic example of their design solution
- compare their design ideas with each other, checking if the user needs are met.
In Years 3 and 4, the focus shifts to co-creating a user story and using given design criteria to define the problem. Students begin to generate and compare design ideas, checking whether their ideas meet the user’s needs.
What this looks like in practice
Students apply design thinking when they:
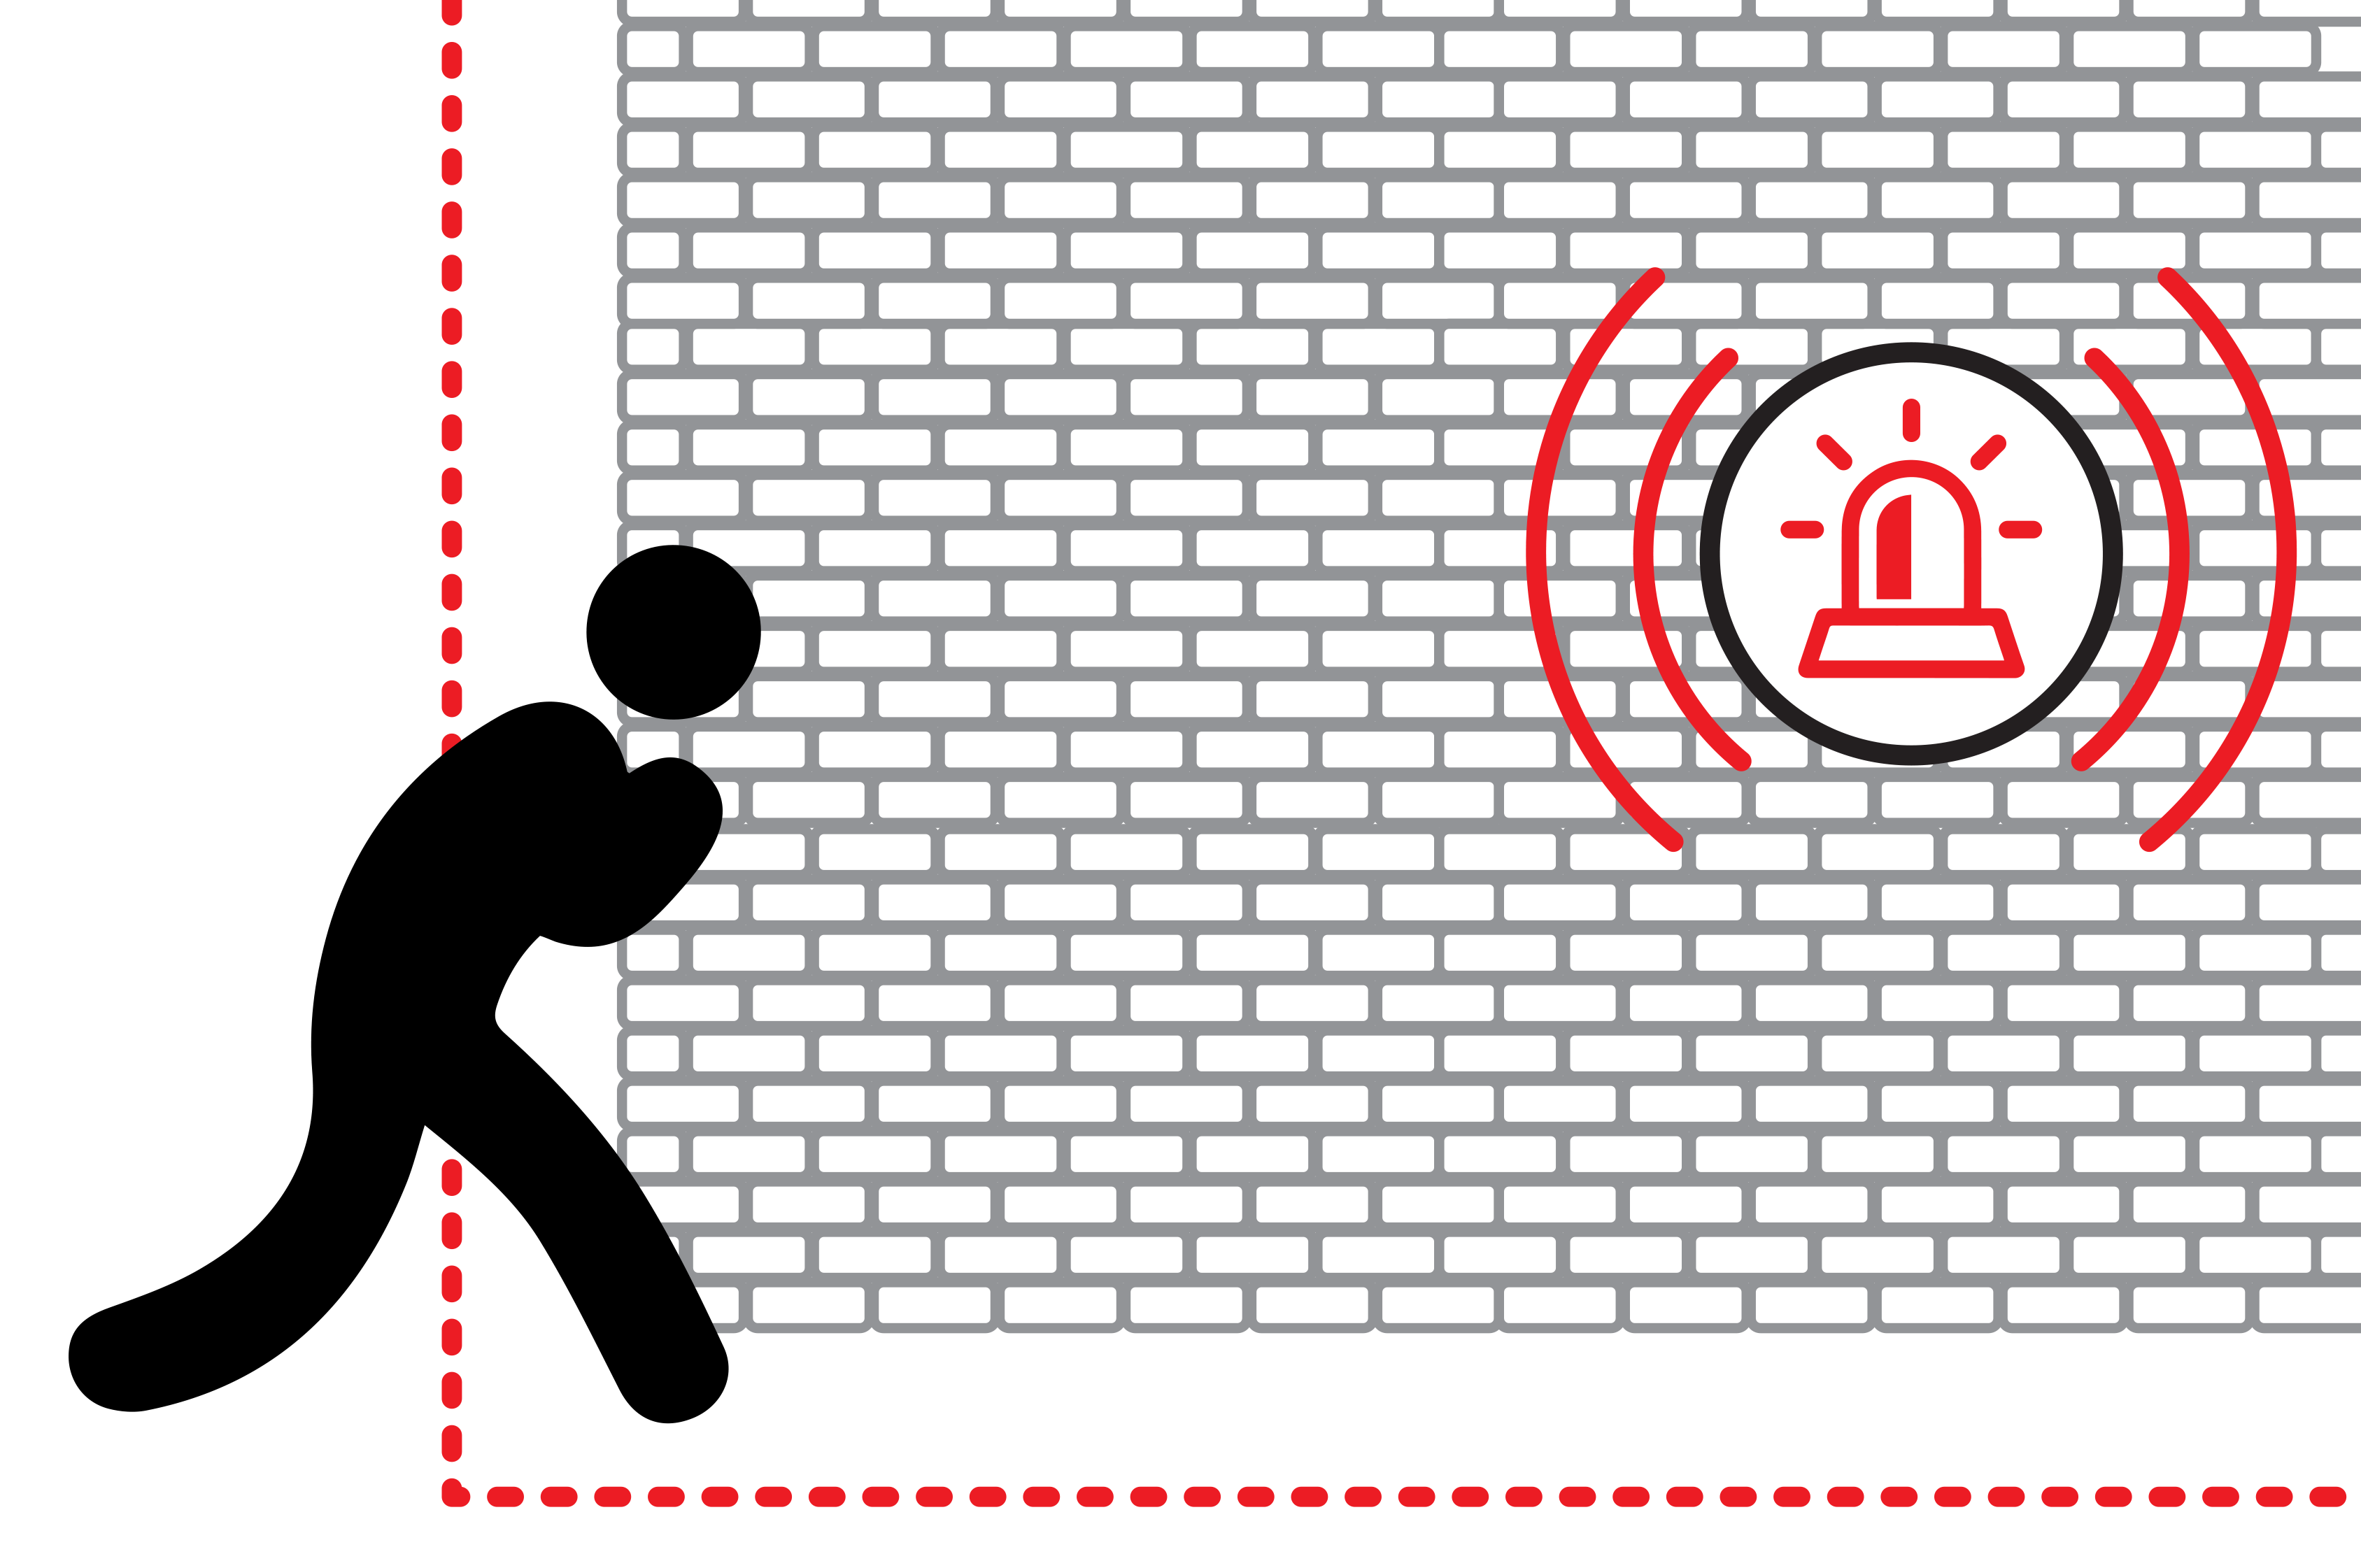
- work through a user story (for example, a homeowner who wants an alarm for home safety) to identify the user’s needs and understand why it matters
- use a problem‑statement template, such as the 5Ws (who, what, when, where, why), to explore and clarify an identified problem
- organise and expand their ideas using mind maps or similar thinking tools
- create a simple example or model (digital or physical) to show how their chosen design idea works
- give feedback on each other’s design ideas, focusing on whether the user’s needs have been met.
By the end of this lesson, students will be able to use design thinking to create a design that meets design criteria and a user story.
Retrieval: What are some important steps in designing a solution for someone? Why is it important to understand the user’s needs before creating a solution?
Pose the design problem, for example: How might we create a motion activated alarm that tells a homeowner when someone enters a restricted area?
Empathise: Co-design the user story, for example:
- As a: homeowner
- I want to: be alerted when someone enters a restricted area in my home
- So that I can: ensure my home is secure and be aware of unauthorised access.
Define: Share the design criteria students must use to guide and check their ideas, for example:
- The alarm has a clear method for detecting the event.
- The alarm provides a clear alert when triggered.
- The system has a way to reset the alarm.
- The system is easy to operate.
Example of a 5Ws breakdown
| WHO | WHAT | WHEN | WHERE | WHY |
|---|---|---|---|---|
The homeowner, who wants to keep their home safe. |
They need an alarm that alerts them when someone enters a restricted area. |
Whenever someone enters the restricted area. |
Around the home, in areas that should not be accessed. |
To keep the home secure and receive immediate notifications of unauthorised access. |
Problem statement: A homeowner needs a way to know when someone enters a restricted area in their home.
Ideate: Students explore different ways they could solve this problem. They think about the needs of the user and imagine as many possibilities as they can.
Prototype: Students could create a simple paper prototype by sketching out their ideas to highlight how their alarm system works or by using role-play to simulate the idea and see how it might work in practice. They can focus on a key function such as what triggers the alarm.
Test and check: Students compare their design ideas with each other, checking if the user needs are met.
Optional: Students could implement the design as a visual program in an environment like Scratch, to simulate motion detection. When a sprite touches a colour that identifies a restricted zone of the yard, the alarm sounds and alerts the homeowner.
Evidence of learning
You might notice that students:
- describe their insights from the user story
- explain how the 5Ws problem‑statement template helped to identify the problem
- sort ideas into ‘ideas we can use as they are’ and ‘ideas that need more work’
- explain why one idea is stronger than another, giving simple reasons
- sketch quick versions of their ideas to show how the solution might work
- use design criteria like a checklist to decide whether an idea meets the user’s needs
- give feedback to a partner about how well their idea matches the user story.
If students can explain why one idea better meets the user’s needs, they are demonstrating developing design.
Common misconceptions or errors to watch for
- Providing minimal input in co-creating a user story
- Not yet being able to turn identified needs into design ideas
- Creating ideas that don’t match the design criteria
- Choosing an idea because they personally like it, not one that necessarily meets the user needs.
Address these explicitly during modelling.
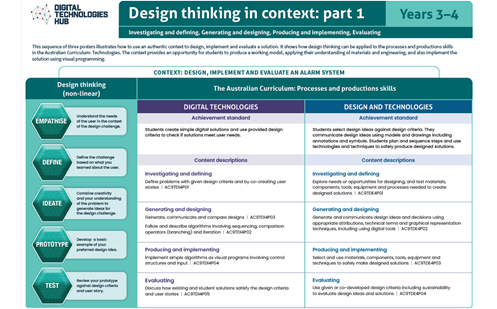
Poster: Key ideas, practical examples, Australian Curriculum
Download Designing a digital solution poster (Years 3-4) [PDF] (opens in a new window)
Design thinking in Years 5-6
Expectation for this band
Students can:
- create a user story to understand the user and their needs
- define a problem using co-developed design criteria
- generate different ways they could solve the problem and modify them to develop a preferred solution
- develop a prototype of their preferred solution in the form of a sketch, flowchart or simple model
- check the preferred design against the user story and design criteria to ensure it meets the design requirements.
In Years 5 and 6, the focus shifts to creating a user story and co-developing the design criteria to define the problem. Students begin to generate and modify design ideas to come up with a preferred solution.
What this looks like in practice
Students apply design thinking when they:
- create a user story and define the problem using given or co-created design criteria which state the requirements a solution must meet to solve a problem effectively
- create a user story that follows the format: As a <type of user> I want to <a goal> so that <reason for the goal or benefit>
- use the 5Ws questions routine (who, what, when, where, why) to guide students to write the problem statement
- generate multiple designs and judge them against design criteria and user stories. Modify and refine the preferred design idea if it does not satisfy all the requirements
- create and use a prototype to review and check the preferred design against the user story and design criteria to ensure it meets the design requirements. If elements do not satisfy the design requirements, revisit the ideation stage.
By the end of this lesson, students will be able to design a solution that meets co-developed design criteria and the user story they created based on user needs.
Retrieval: What are the first steps you would take when designing a solution for someone else?
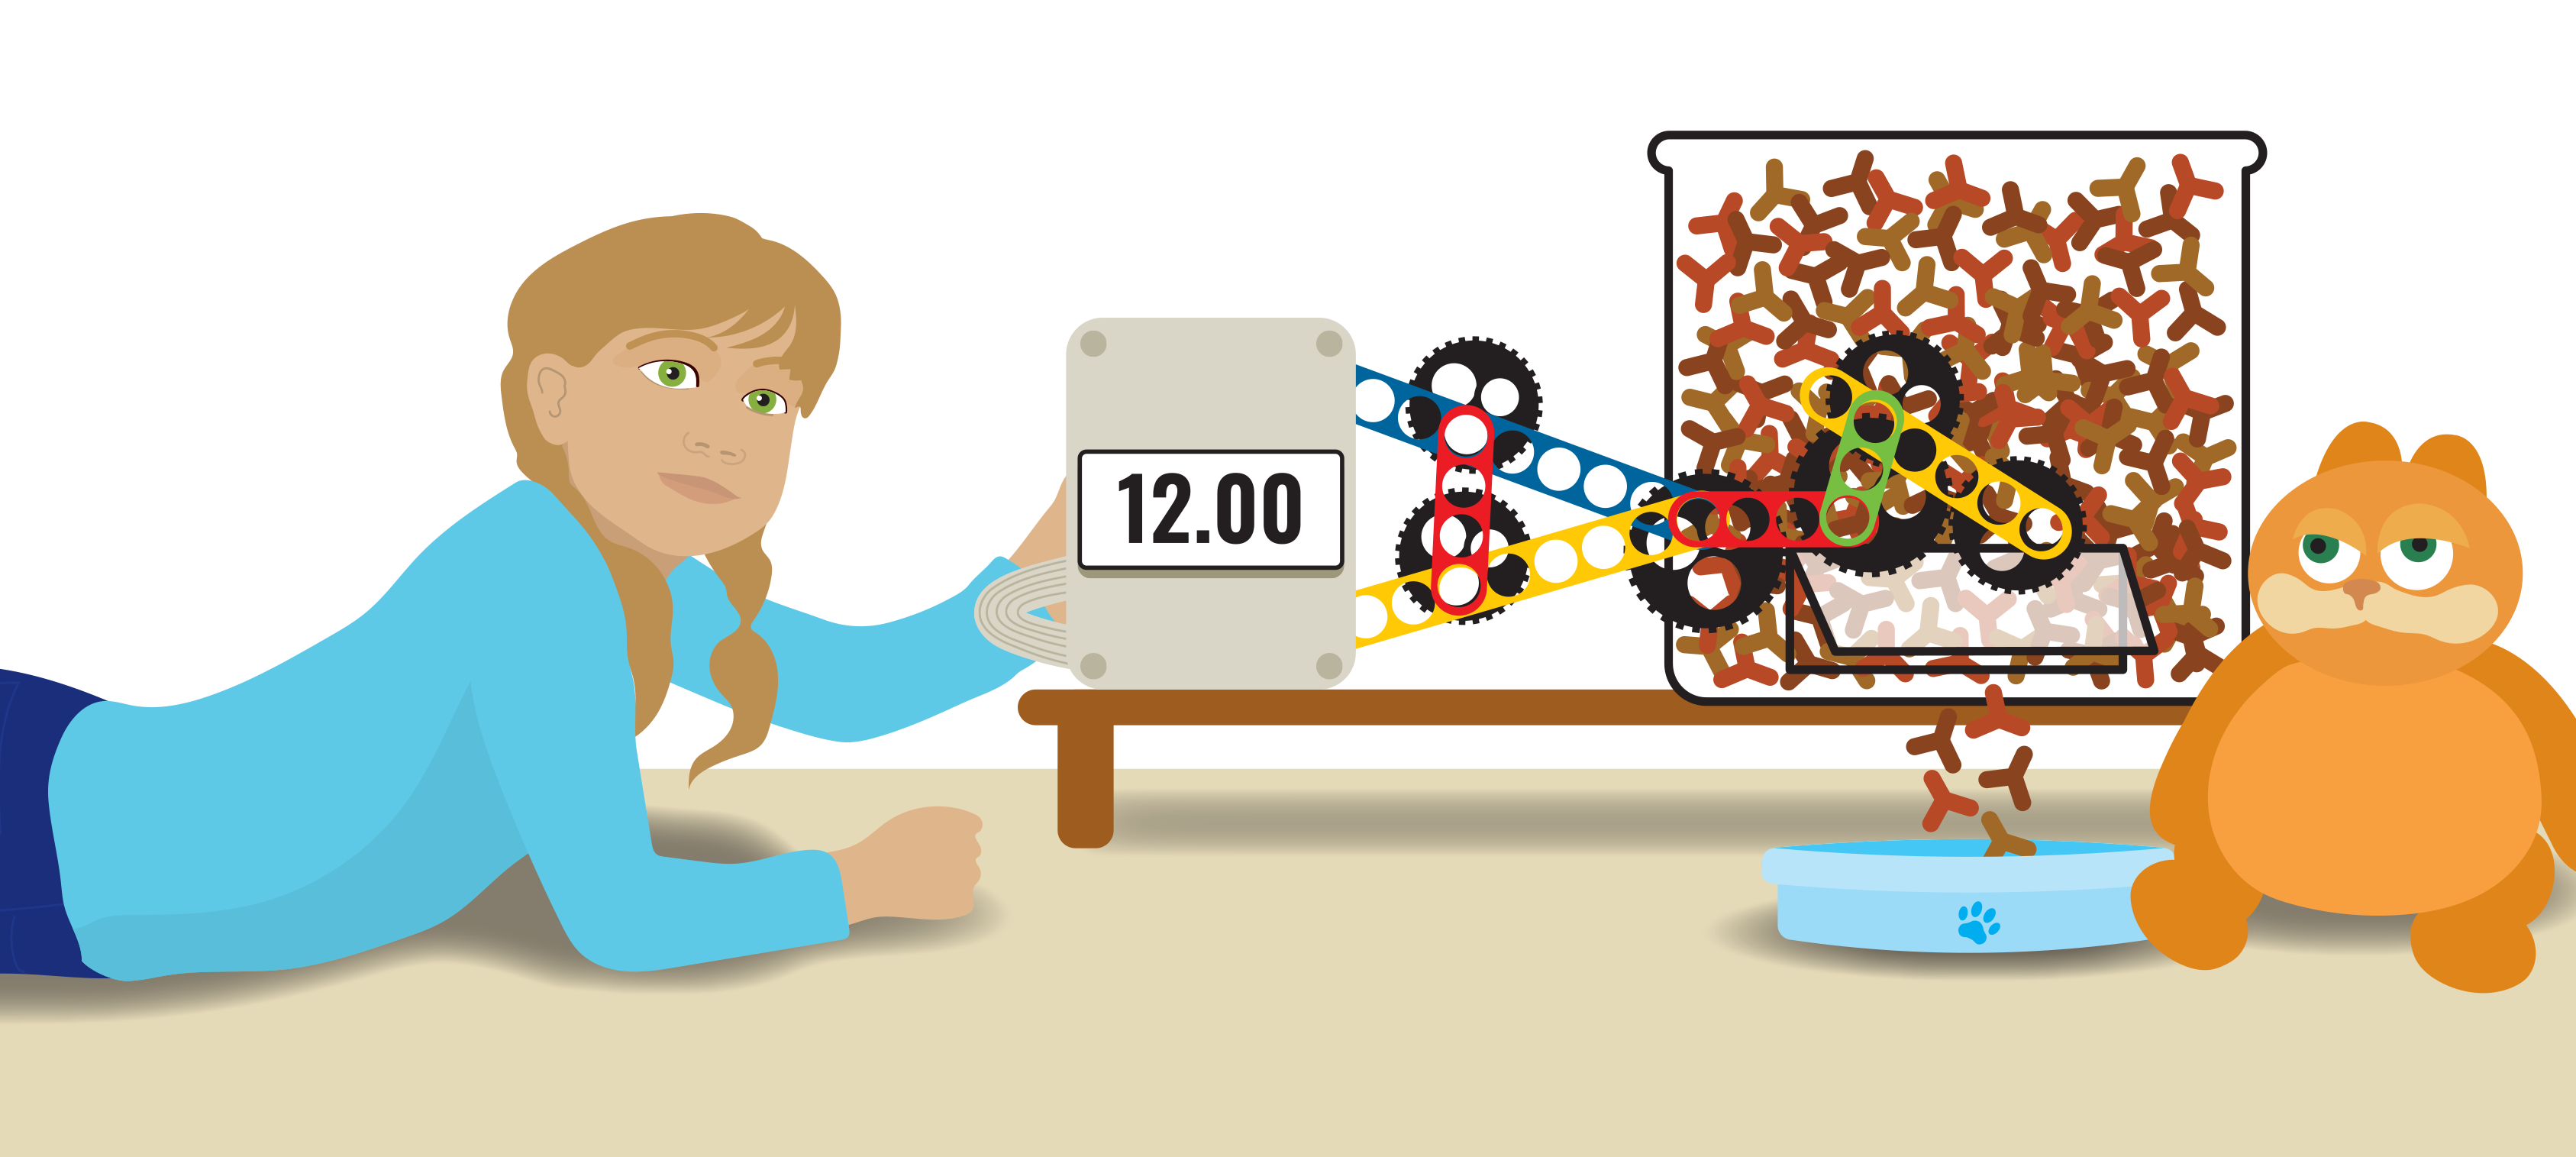
Pose the design problem, for example, ‘How can we design an automated cat feeder?’
Empathise: Discuss the format used to create a user story, for example:
- As a: cat owner who travels
- I want to: feed my cat while I'm away from home
- So that I can: ensure my cat is fed the right amount and regularly.
Define: Share the design criteria students use to guide and check their design ideas, for example:
The cat feeder must:
- operate automatically
- provide an amount of food at a set time
- have a backup if something goes wrong.
Example of a 5Ws breakdown
| WHO | WHAT | WHEN | WHERE | WHY |
|---|---|---|---|---|
| cat owner | An automated feeding system | While the cat owner is away | Cat owner’s home | To make sure the cat is fed and remains healthy |
Problem statement: A cat owner needs a way to feed their cat automatically while they are away to ensure their cat is fed and stays healthy.
Ideate: Students generate multiple designs they could use to solve this problem. They modify and refine the ideas to create a preferred design that meets the design criteria and user story.
Prototype: Students could create a prototype that focuses on one key function of their automated cat feeding system. They program a micro:bit to perform a simple countdown that triggers an event to simulate feeding, rather than building the full system with all features.
Test and check: Use the prototype to review and check the preferred design against the user story and design criteria to ensure it meets the design requirements. If elements do not satisfy the design requirements, revisit the ideation stage.
Complete the project: Students could implement the design using Scratch, micro:bit, Google’s Teachable Machine (to incorporate AI image recognition) or an app development program.
Students evaluate the effectiveness of their solution. How well does it address the design criteria and meet the needs identified in the user story? They reflect on the wider community and consider any potential impacts of their solution.
Evidence of learning
You might notice that students:
- provide input into the co-developed design criteria
- explain how their user story helps them identify the needs of a user
- use the 5Ws to help write the problem statement
- identify core considerations their design must address
- create a preferred design based on multiple design ideas
- create a simple model or sketch of their preferred design
- implement and evaluate their design as a computer program.
If students can explain how their design meets the design criteria and user story, they are developing and applying design thinking.
Common misconceptions or errors to watch for
- Not fully completing each part of a user story, such as not including the goal or the reason for the goal
- Showing limited understanding of what the design criteria are and how to use them in designing a solution
- Believing that generating one idea is sufficient, rather than generating multiple ideas to develop a preferred solution
- Moving straight to implementation (coding) before establishing design criteria and generating a design
- Creating a prototype that has insufficient detail to fully explain how the solution would work
- Not referring to their user story and design criteria when evaluating the prototype.
Address these explicitly using questioning and feedback.
Poster: Key ideas, practical examples, Australian Curriculum
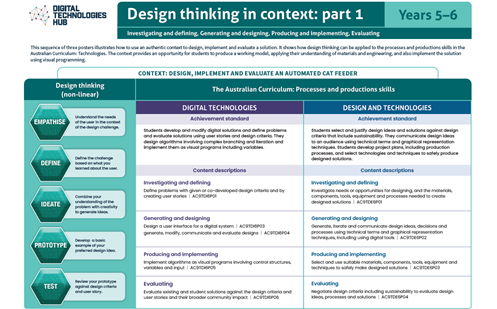
Download Designing a digital solution (Years 5-6) [PDF] (opens in a new window)
Design thinking in Years 7-8
Expectation for this band
Students can:
- define an authentic problem using design criteria and user stories
- discuss generated ideas and evaluate them against design criteria and user story
- develop a prototype of their preferred solution as a wireframe, diagram or working model showing how one key function works
- implement the prototype by creating a computer program and evaluating the solution, identifying the potential positive and negative impacts.
What this looks like in practice
Students apply design thinking when they:
- develop clear design criteria that help define a problem
- create user stories to identify and understand the needs of the user
- write a clear problem statement that frames the design challenge
- brainstorm a list of functionalities that need to be included in the design ideas
- use the ‘how might we’ thinking routine to generate design ideas
- create a physical model of the proposed solution to describe its features and functionality
- use the model to check against the user story and design criteria to ensure it meets the design requirements.
By the end of this lesson, students will be able design a solution that meets their design criteria and the user story.
Retrieval: A student wants to create a new product for teenagers. What information would they need to gather before they start designing?
Guide students to use the design thinking process to create a solution to the problem.
Empathise: Introduce the idea of a user persona, a fictional character that represents a segment of the target audience, to consider various aspects of potential users’ lives and needs. Create a user story in the format: ‘As a <type of user> I want to <a goal> so that <reason for the goal or benefit>.’
Define: Support students to write a clear problem statement framing the design challenge.
Ideate: Students generate multiple designs they could use to solve this problem. They modify and refine the ideas to create a preferred design that meets the design criteria and user story.
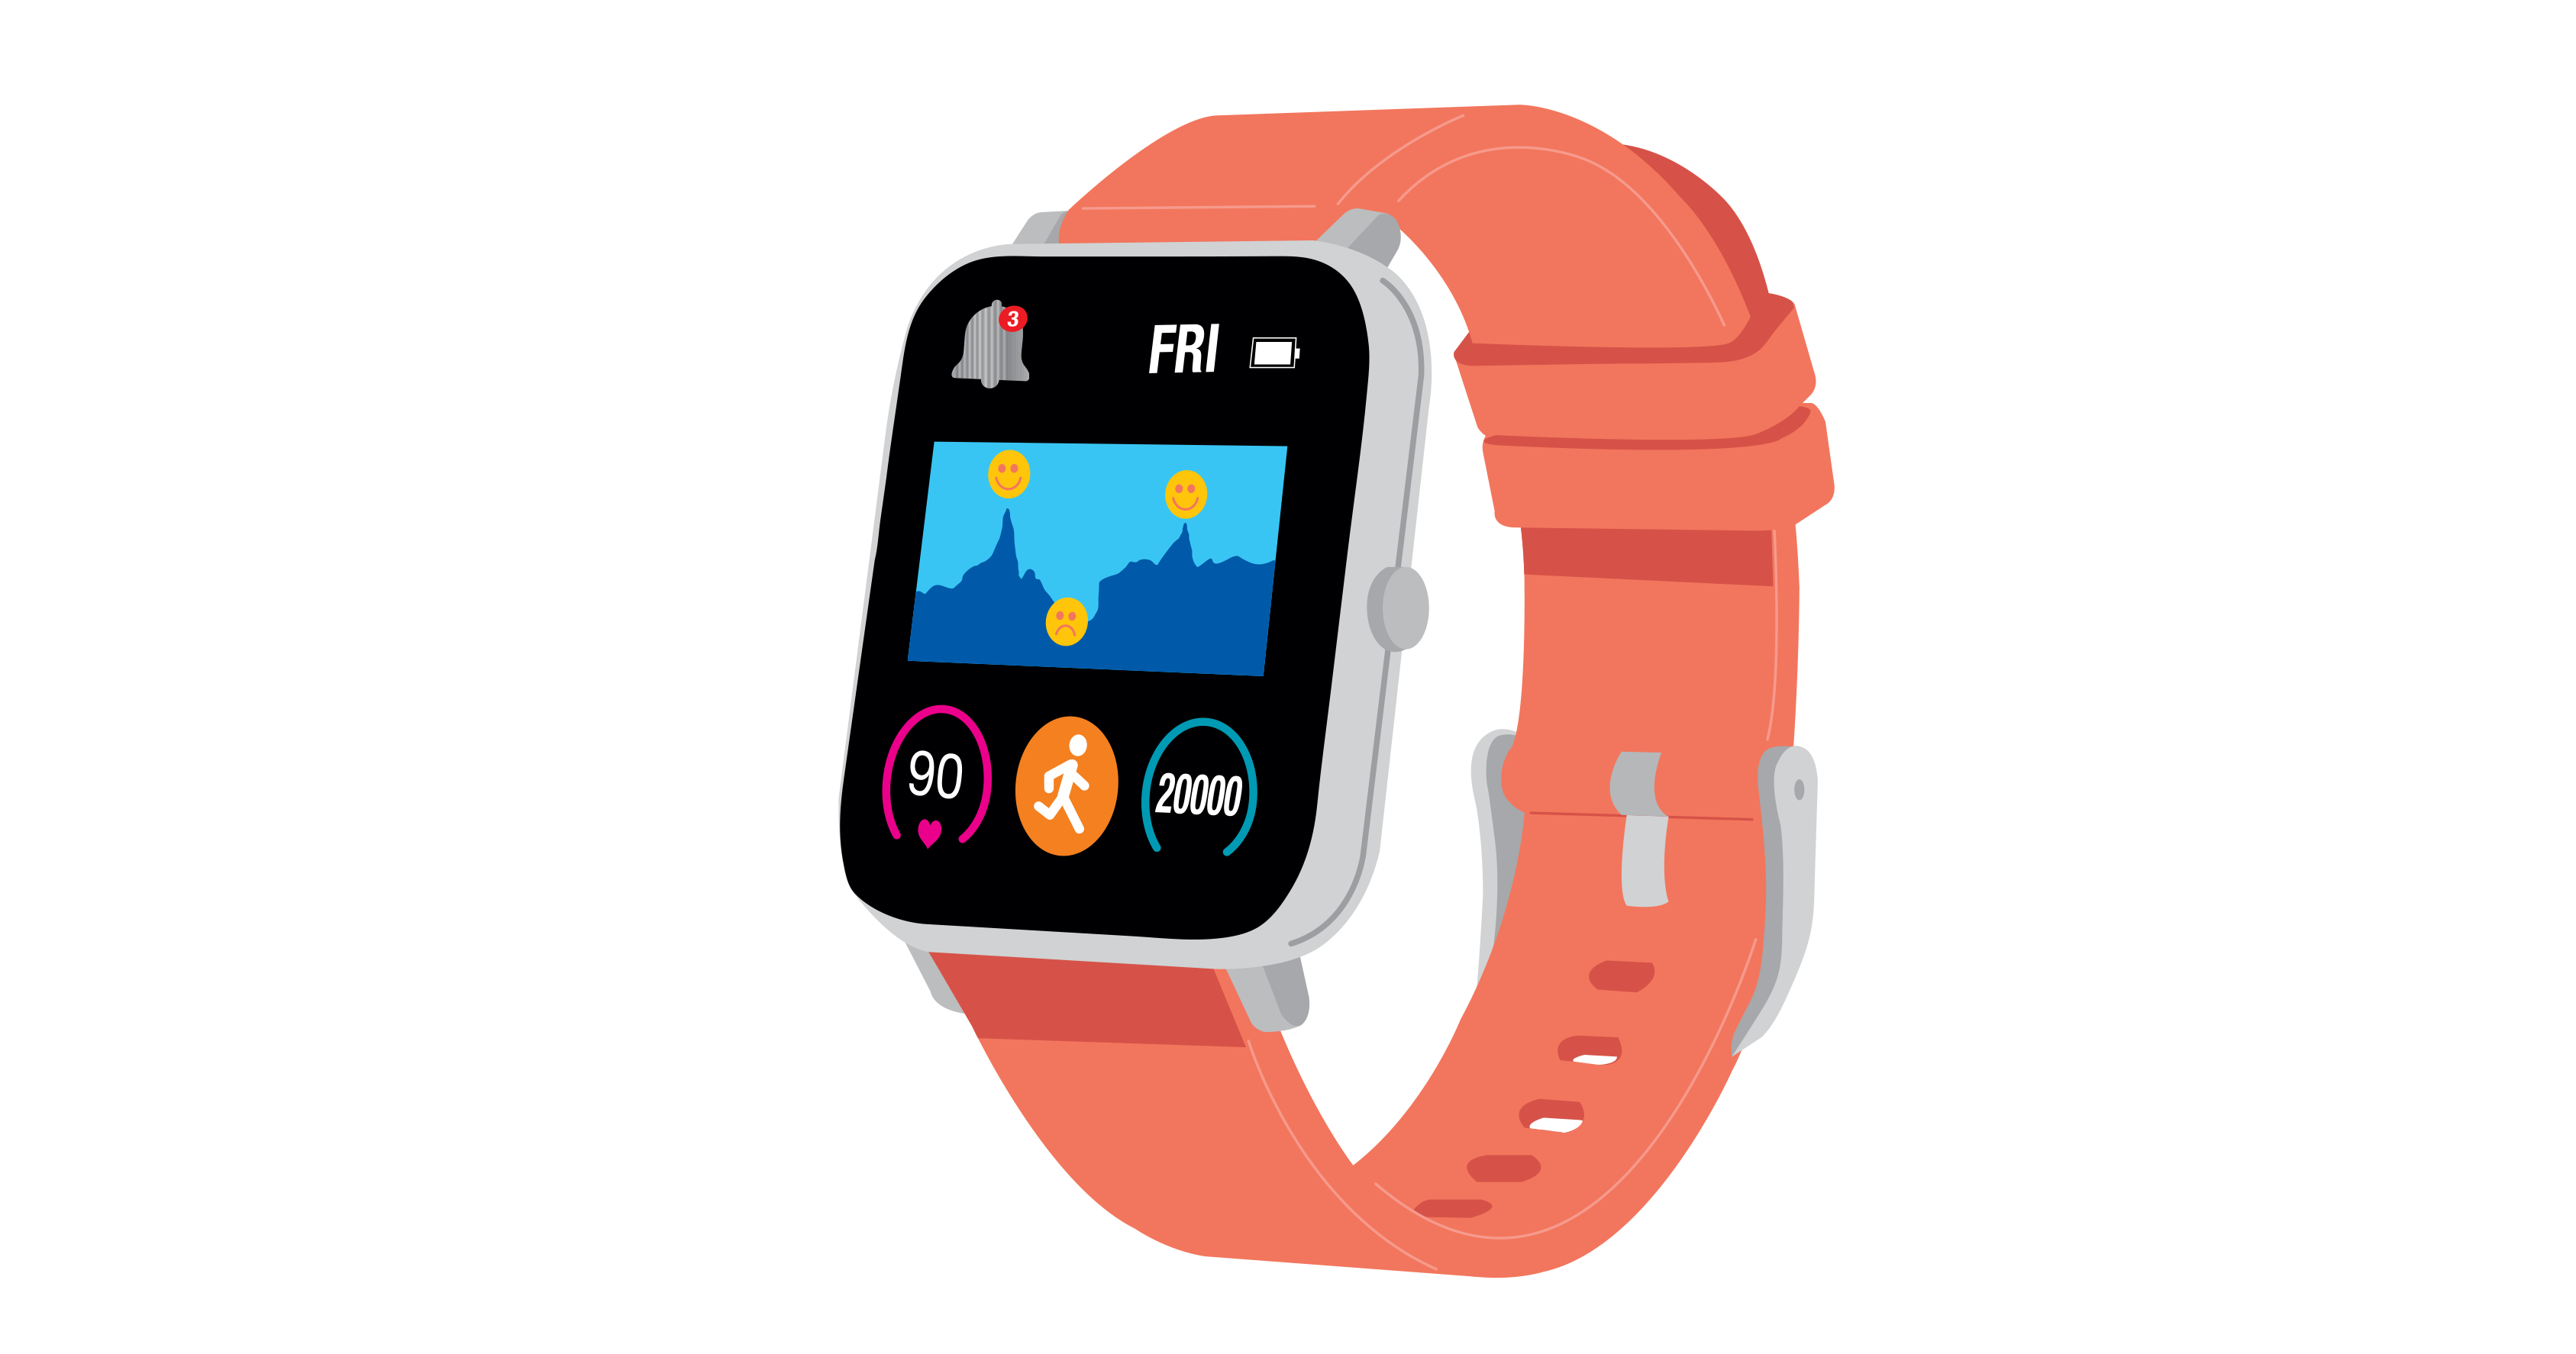
Prototype: Students sketch out their ideas for their wearable and label their diagram, using it to explain how it would work. They create a physical model of the proposed solution to show how one key function works.
Test and check: Use the prototype to review and check the preferred design against the user story and design criteria to ensure it meets the design requirements. If elements do not satisfy the design requirements, revisit the ideation stage.
Complete the project: Students could implement the design using microcontrollers such as micro:bit, while those with advanced programming skills may use Arduino IDE and wearable tech such as Adafruit. Students evaluate the effectiveness of their solution against the design criteria and user stories. They reflect on the potential future impact of their solution.
Evidence of learning
You might notice that students:
- justify why each of their design criteria matters for the user
- explain the user’s needs in their own words
- summarise the core issue in one or two sentences
- generate a wide range of possible features before narrowing it down to their preferred solution
- sketch or build simple models using paper, cardboard or everyday materials
- test their model by walking through the user’s experience.
If students can explain their design choices, they are developing design thinking.
Common misconceptions or errors to watch for
- Not including the ‘so that …’ purpose, resulting in unclear goals when creating their user story
- Jumping straight to a solution without defining the problem or thinking about the user
- Generating ideas that don’t connect back to the problem statement, design criteria or user story
- Treating the first prototype as final rather than iterative and looking to refine based on feedback.
Address these explicitly through questioning and feedback.
Poster: Key ideas, practical examples, Australian Curriculum
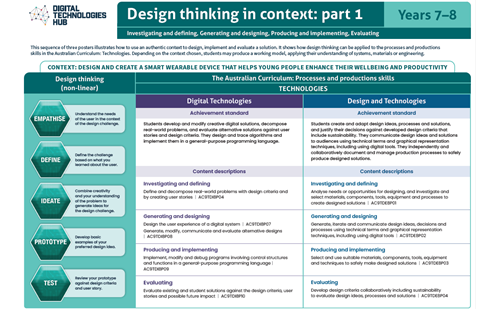
Download Designing a digital solution poster (Years 7-8) [PDF] (opens in a new window)
Design thinking in Years 9-10
Expectation for this band
Students can:
- define and decompose real-world problems and develop design criteria
- discover user needs through stakeholder interviews and create user stories
- critically evaluate alternative design ideas
- create a prototype and use it to review and check the preferred design against the user story
- implement their preferred design idea into a solution.
In this year band, students discover user needs through stakeholder interviews and create user stories and design criteria to guide design ideas. They critically evaluate to eliminate, refine or modify alternative design ideas by assessing them.
Key term in the curriculum
| Stakeholder | A stakeholder is someone the solution is for, or someone it impacts. Students interview stakeholders to identify needs and express them as user stories: ‘As a For example: Stakeholder: an amateur athlete User story: As an athlete, I want to track my energy intake so that I can complete a half marathon. |
|---|
What this looks like in practice
Students apply design thinking when they:
- develop design criteria around key elements, for example, in an app for teens, they consider user interface, engagement and motivation, inclusive design and user safety
- use stakeholder interviews to check assumptions, gather insights and deepen understanding of the target audience
- create an affinity diagram to synthesise ideas gathered through stakeholder interviews
- develop design ideas and user flows using paper prototyping
- implement their preferred solution, for example, using an app development platform such as MIT App Inventor.
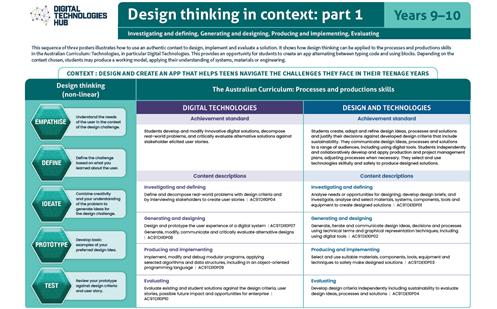
By the end of this lesson, students will be able to follow the design thinking process to design a solution to meet the needs of a user.
Retrieval: A designer creates an app without speaking to any users. What problems might occur?
Students apply the design thinking process to design and create an app that helps teens navigate challenges in their teenage years.
Empathise: Students explore teen needs, thoughts and behaviours to build empathy. They:
- use an empathy map to visualise teens’ thoughts, feelings, needs and behaviours
- conduct stakeholder interviews to check assumptions and gather insights
- develop a user story, for example, ‘As a teenager, I want to receive daily suggestions so that I can stay motivated and build healthy habits.’
Define: Students clarify the problem. They:
- define and decompose the real‑world problem
- write a concise problem statement, for example, ‘Teenagers struggle with stress and healthy living due to academic pressure, social media and lack of resources’
- develop design criteria.
Ideate: Students explore possibilities and critically evaluate them against criteria. They:
- create an affinity diagram to group and prioritise app feature ideas
- critically evaluate design ideas to eliminate, refine or modify alternative design ideas by assessing them; for example, using SWOT analysis to evaluate strengths, weaknesses, opportunities and threats
- identify the key functions to develop.
Prototype: Students represent one key function of their idea in a tangible way. They could:
- sketch paper prototypes showing user flows and screen layouts (UI and UX)
- annotate how users move through the app
- check the prototype against the design criteria and user story
- revise if requirements are not met.
Test: Students test their prototype and refine their design. They:
- test the prototype with peers
- gather feedback on usability and alignment with user needs
- return to ideation if elements do not meet requirements.
Optional: Students create a working digital solution. They:
- implement their preferred design using platforms such as MIT App Inventor or code.org’s App Lab
- evaluate their app against the design criteria and user story, and discuss future impact and enterprise opportunities.
Evidence of learning
You might notice that students:
- draft purposeful interview questions linked to empathy maps or assumptions
- write individual ideas or insights on sticky notes and sort them into meaningful clusters
- sketch multiple interface screens and annotate how users move through the app
- translate paper prototypes into digital screens with consistent layout and navigation.
If students can explain insights gained through stakeholder interviews and how their design choices address the user story and design criteria, they are demonstrating design thinking.
Common misconceptions or errors to watch for
- Not clearly articulating the problem in a clear statement
- Asking leading questions that confirm their assumptions rather than challenge them
- Creating criteria that are too vague to guide decisions, such as ‘make it engaging’
- Creating flows that assume the user always behaves perfectly (no errors, no confusion)
- Not iterating, instead treating the first sketch as final
- Being unable or not willing to take on feedback to improve design ideas
- Not checking the implementation against the design criteria and user story.
Address these through questioning and feedback.
Poster: Key ideas, practical examples, Australian Curriculum
Download Designing a digital solution poster (Years 9-10) [PDF] (opens in a new window)
Plan your teaching
Explore sample units and lessons.
These sample units can be used to incorporate elements of the design thinking process.
Years 1–2: Solving simple problems
Years 3–4: Programming a simple digital solution
Years 5–6: Designing a digital solution
Years 7–8: Creating a digital solution
Years 9–10: Student-driven project
Use this planning template (opens docx in a new window) to record relevant information as you view a scope and sequence topic for your year level.
Research-informed teaching
Evidence-based approaches
- Unplugged learning
- Encouraging divergent thinking
- Dual coding
- Worked examples with gradually reduced scaffolding
- Culturally responsive pedagogies
Unplugged learning (prototypes)
Research on design thinking shows that creating low-fidelity prototypes without digital tools helps students focus on function, flow and user experience, before adding technical complexity.
What this looks like in practice:
- Begin with an activity that requires students to physically represent their design ideas.
- Use familiar materials such as paper, sticky notes, cardboard and markers to model how their design idea works, creating a prototype.
- A prototype can be a sketch, diagram, wireframe or simple model.
- Focus discussion on how the user interacts with the prototype (for example, in an app prototype), discuss user flow, navigation, and how each screen or component supports the user story and design criteria.
- Encourage quick iteration: sketch, test, revise, discard, redraw.
- Introduce digital tools – such as MIT App Inventor – later, once students clearly understand the underlying design.
Example:
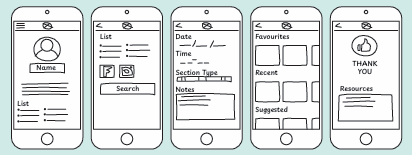
Students create a paper prototype of their app. A simple way to begin is to divide an A4 sheet into eight rectangles, with each rectangle representing a screen. Students draw the interface for each screen to illustrate functionality. One student then acts as the user, tapping ‘buttons’ to mimic navigation, while another student swaps screens to simulate the app’s behaviour. As the user attempts a task from the user story, students observe where confusion occurs, where steps are unclear, or where the design fails to meet criteria such as clarity, engagement or safety. They revise the prototype, redrawing screens, simplifying flows or adjusting features before moving to digital implementation.
Encouraging divergent thinking
Research from the Stanford school emphasises that divergent thinking – for example, generating many ideas before evaluating them – is essential for creativity and innovation.
What this looks like in practice:
- Start with a real-life problem that is relevant to students.
- Empathise with the user to help understand their needs.
- Generate multiple design ideas and evaluate them against user requirements.
Example:
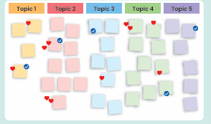
Students begin by generating as many app feature ideas as possible. Working individually first, they write one idea per sticky note to encourage divergent thinking and avoid early judgement. Students then combine their notes and create an affinity diagram, grouping similar ideas together and labelling each group to identify emerging themes.
Once the ideas are clustered, students shift into convergent thinking by reviewing each group against the design criteria and user stories. They discuss which ideas best meet user needs, and which may need refinement or removal.
To deepen evaluation, students complete a SWOT analysis of their top feature ideas. This helps them identify strengths, weaknesses, opportunities and threats, giving them clear insights into which features are most valuable and feasible to develop in the next stage of the design process.
Dual coding
Research synthesised by Richard E Mayer shows that students learn new concepts more effectively when information is presented using both words and visuals, reducing cognitive load and supporting deeper understanding.
What this looks like in practice:
- Present new concepts using both spoken or written explanations and visual representations.
- Use diagrams, images, symbols or simple models alongside verbal descriptions.
- Explicitly link the visual elements to the language being used.
- Revisit the concept using both modes together to reinforce understanding.
Example:
When introducing algorithms, a teacher explains the steps of a process while displaying a simple flowchart. As students hear terms such as ‘sequence’ or ‘decision’, they see these ideas represented visually using arrows and decision shapes. Students refer to both the explanation and the diagram when describing how the algorithm works.
Worked examples with gradually reduced scaffolding
Research synthesised by the Australian Education Research Organisation (AERO) shows that modelling worked examples and gradually reducing support improves learning complex procedures. This approach can be used to introduce design thinking, user stories, and design criteria development.
What this looks like in practice:
- Model the full process of creating a user story and design criteria using a simple, relatable scenario.
- Think aloud as you demonstrate how to interpret stakeholder insights and turn them into a clear user story.
- Provide structured templates for students to follow such as ‘As a <type of user> I want to <a goal> so that <reason for the goal or benefit>.
- Guide students through identifying design criteria based on the user story and stakeholder needs.
- Gradually remove scaffolds: move from a fully completed example to a partially completed example and finally to students creating their own independently.
Example:
The teacher models how to turn stakeholder insights into a user story. Using sample interview notes on a fictious new and upcoming athlete, the teacher draws out and records the key needs, the goal and why these are important to the user. These are used to frame the user story: ‘As an athlete, I want to track my energy intake so that I can complete a half marathon’. Next, the teacher demonstrates how to develop design criteria from this story, such as energy intake and energy expenditure through different activities, visually representing outcome. Students then complete a partially worked example of a suitable scenario, filling in missing parts of a user story and identifying criteria with guidance. Finally, students create their own user stories and design criteria independently, applying the same process to their chosen problem.
Culturally responsive pedagogies
Culturally responsive pedagogies recognise and value students’ cultural identities, experiences and ways of knowing, and use these as a foundation for learning. Cultural perspectives can be included in the design thinking process.
What this looks like in practice:
- Students interview stakeholders from diverse cultural backgrounds, including peers, family members or community voices.
- They consider how different cultural groups experience the problem, express needs, or value certain features.
- Students use these insights to shape their user stories, design criteria and idea generation.
- Cultural perspectives become part of the design data, not an add-on, helping students design solutions that are inclusive and relevant.
Example:
An Aboriginal Elder, such as a community leader or cultural knowledge holder, is invited to share how teens in their culture deal with stress, motivation or social pressures. The Elder provides insights into family connection, cultural knowledge or community support. Students use these insights to develop their user story and design criteria, ensuring their design reflects diverse cultural perspectives. Later, they share their prototypes with the Elder and explain how cultural insights shaped their design decisions.
Check understanding
- 1–2: Checklist
- 3-4: Work sample
- 5-6: Work sample
- 7-8: Work sample
- 9-10: Rubric
Teachers can assess student learning in a range of ways, including through checklists, observations, rubrics and student work samples.
These resources can be used to be used to assess related elements of the design thinking process.
- Years 1-2: Solving simple problems. View the assessment section for a sample rubric.
- Years 3-4: Robotic helpers. (opens external website in a new window) View the annotated work sample.
- Years 5-6: Fashion game. (opens external website in a new window) View the annotated work sample.
- Years 7-8: Digital project: website design. (opens external website in a new window) View the annotated work sample.
- Years 9-10: Student-driven project. View the assessment section for a sample rubric.
Deepen your understanding
Explore these resources for further background to help teach about design thinking:
- Systems thinking, design thinking, computational thinking, and critical thinking: (opens external website in a new window) Unpack approaches to problem solving
- Design Thinking Mix-in: (opens external website in a new window) Grok Learning design thinking resources
Supporting resources
- Download posters by year band: [F–2] (opens PDF in a new window) [3–4](opens PDF in a new window) [5-6] (opens PDF in a new window) [7–8] (opens PDF in a new window) [9-10] (opens in a new window)
- Download full F–10 pack of posters [PDF] (opens in a new window)
- DT Unit Planning Template (6–8 weeks) (MS Word) (opens in a new window)